

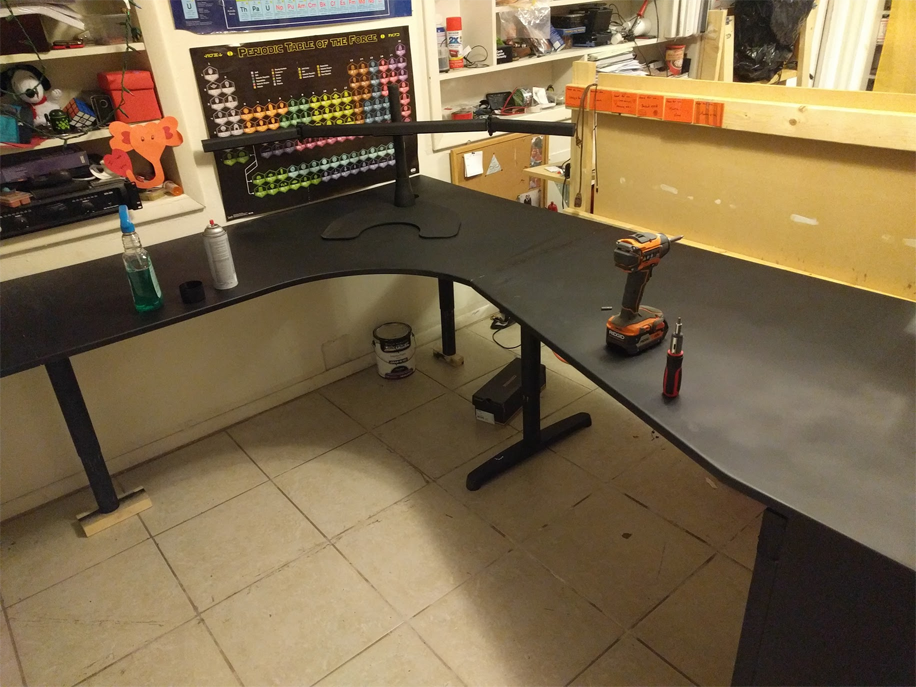
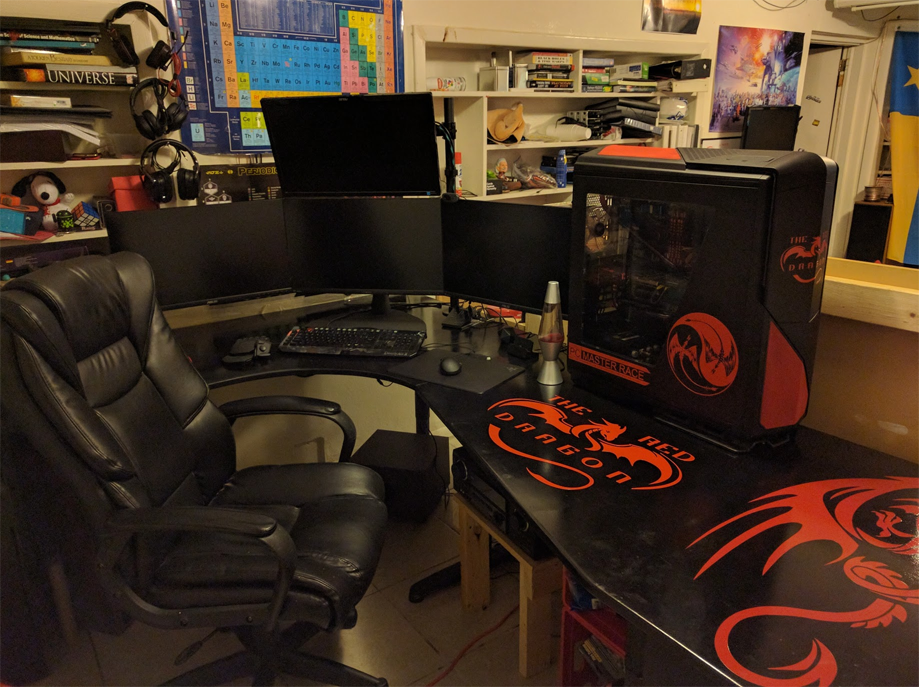
Here is a before image of my desk before I performed the upgrade:
As you can see not only was my desk very messy, but I was also running out of space for all of my stuff. I decided that it was time to upgrade.
The desk was originally an IKEA desk that I got for free from a friend that I had put some small extensions on to allow for more space, I had also made the top of the desk a whiteboard using whiteboard paint. Unfortunately, the extensions that I had made were not large enough for me to fit everything.
When I took my desk apart I knew that it was going to take about a week to build the desk so I moved my rig into the dining room so that I could still keep playing games at night.
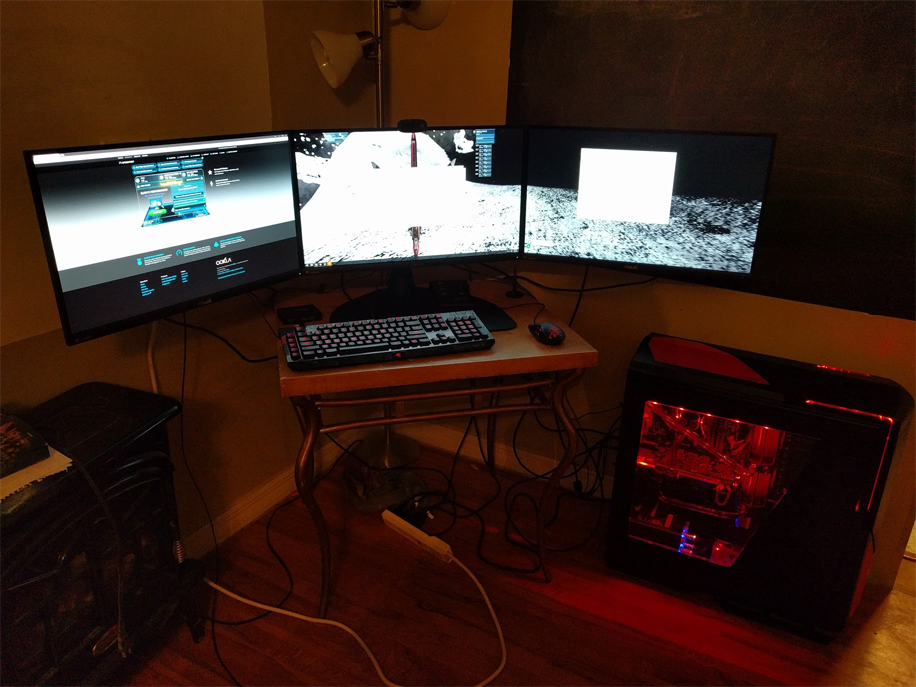
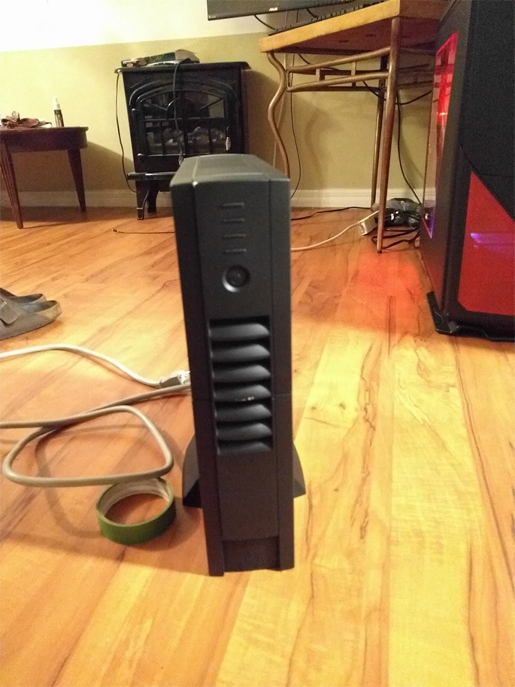
Because I wanted the whole thing to look really nice I decided that I would repaint my UPS so that the colors match.
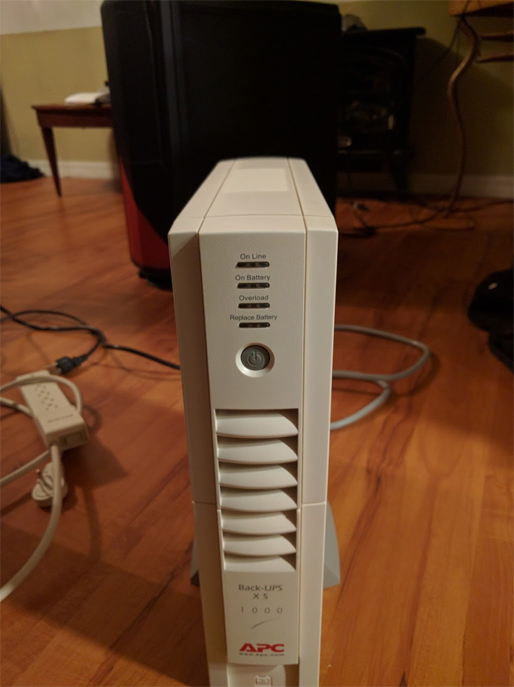
Ahh, much better.
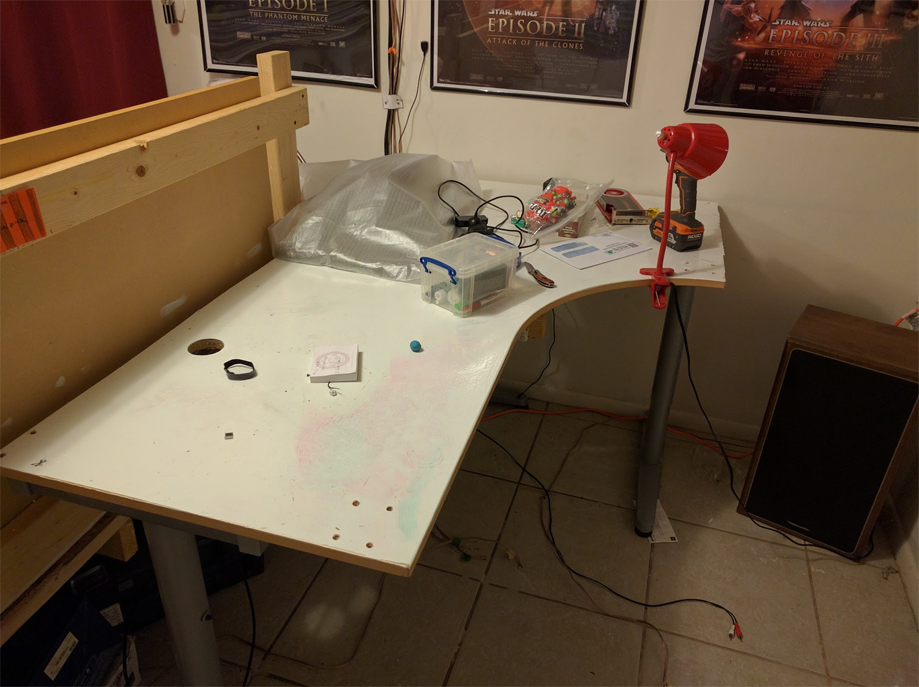
After I took the desk out of my room and out into my yard so that I could start the construction I reattached one of the side extensions because that side did not need to be lengthened. The right side on the other hand, I decided to add length to it until it reaches a length of 8ft. I used a IKEA dresser as the legs for the right side of the desk so that I could have the drawers built into the desk.
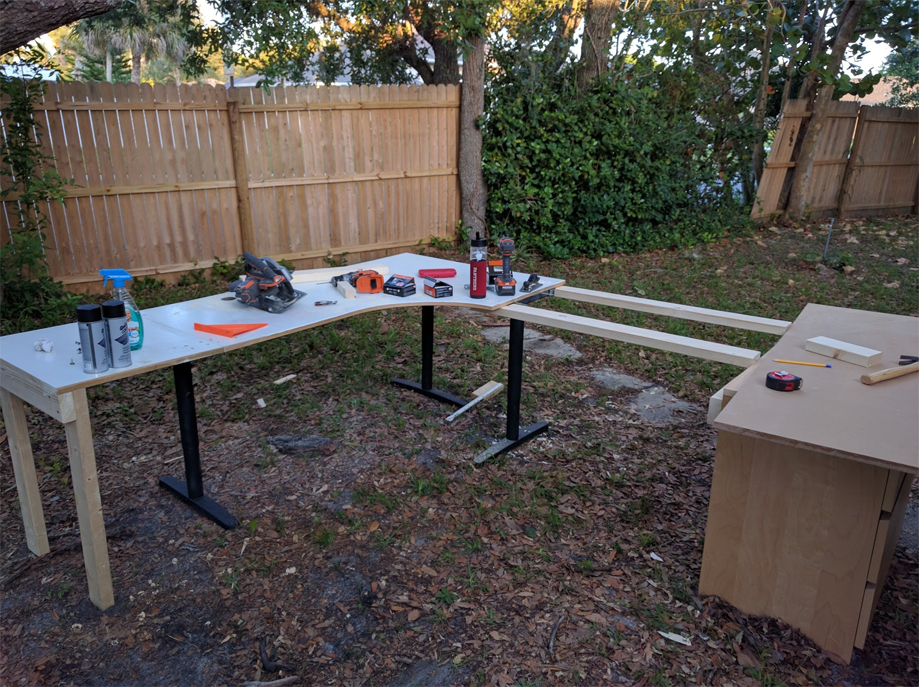
Because the dresser is much wider than the desk I made an angled section for the tabletop to allow for full coverage.

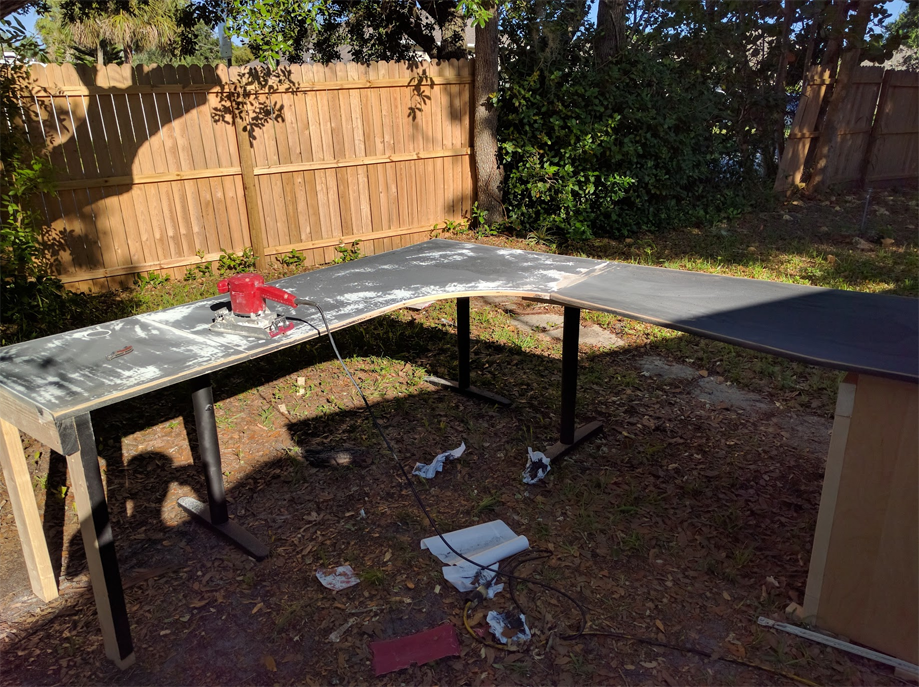
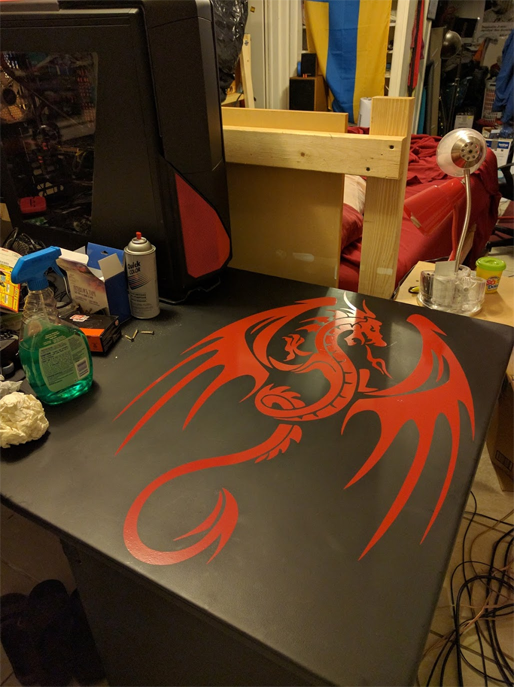
Instead of making the desk a whiteboard, this time I am going to make it a black dry erase board so that it matches the color of my system build.
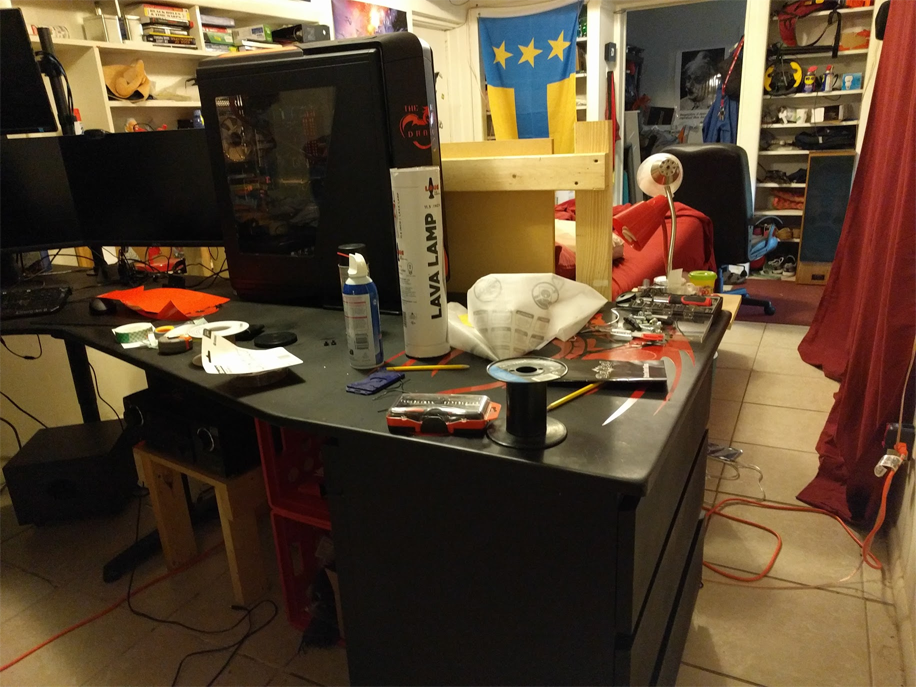
After I finished painting the desk I brought it back into my room so that I could start assembling my setup as I had not yet received the dry erase paint.
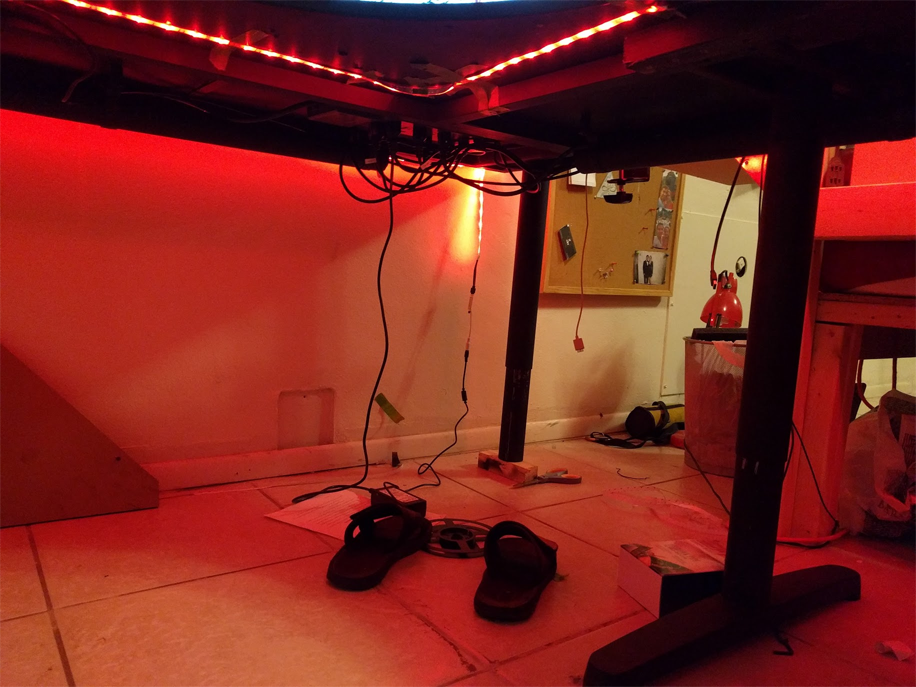
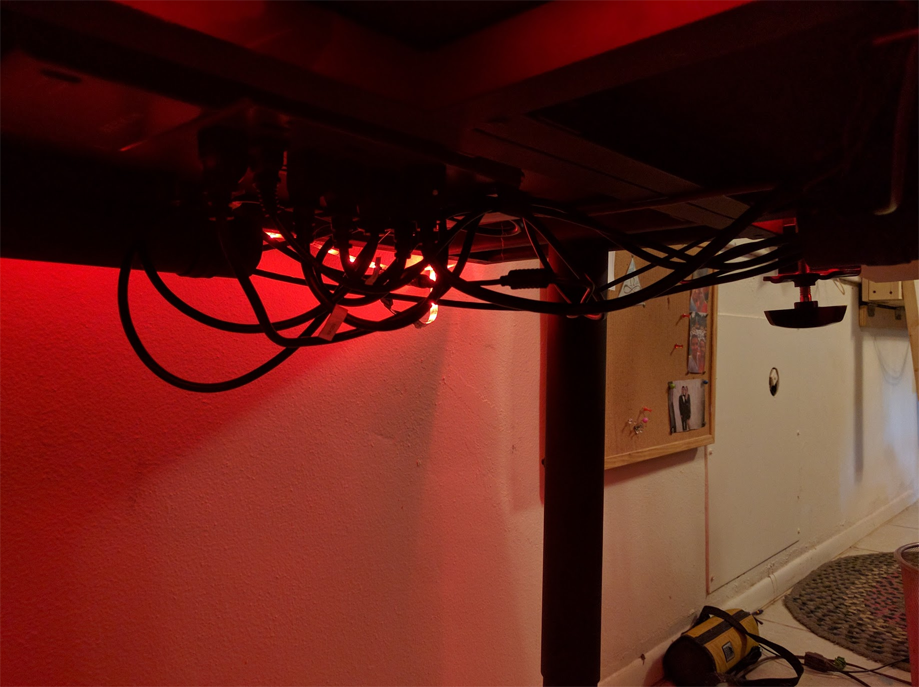
Here is the first time that I setup my rig with the LED underglow setup. I also just attached my cable management system to the desk.
Here you can see that I have one of my power strips attached to the bottom of the desk, to achieve this I used double sided tape. To manage my cables I cut a length of PVC pipe in half and then mounted to the bottom of the desk to create rails that the cables can be run through.
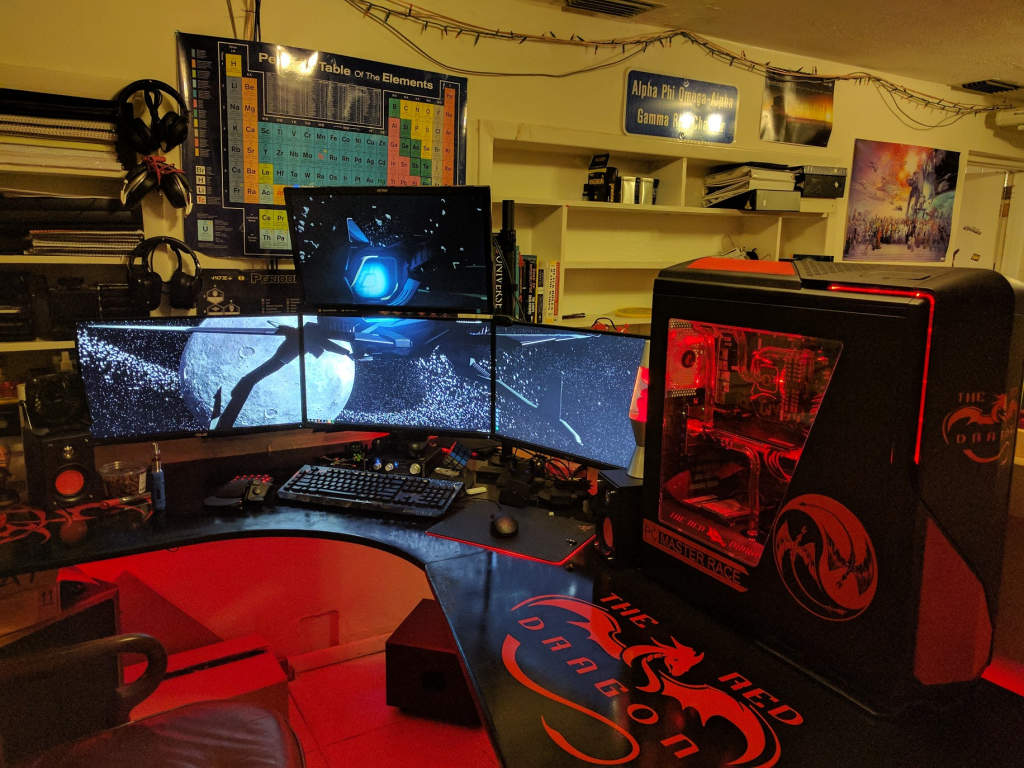
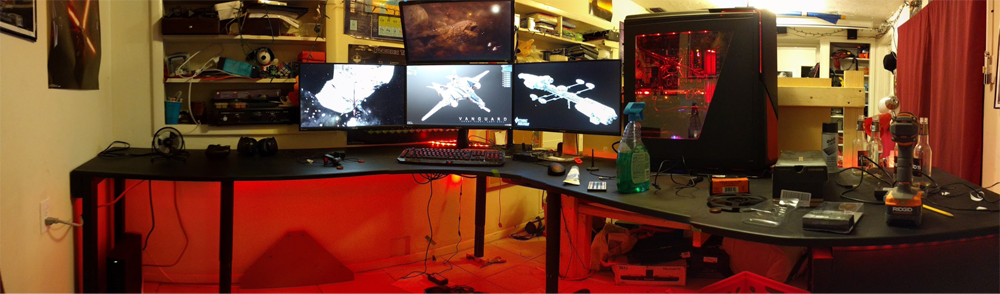
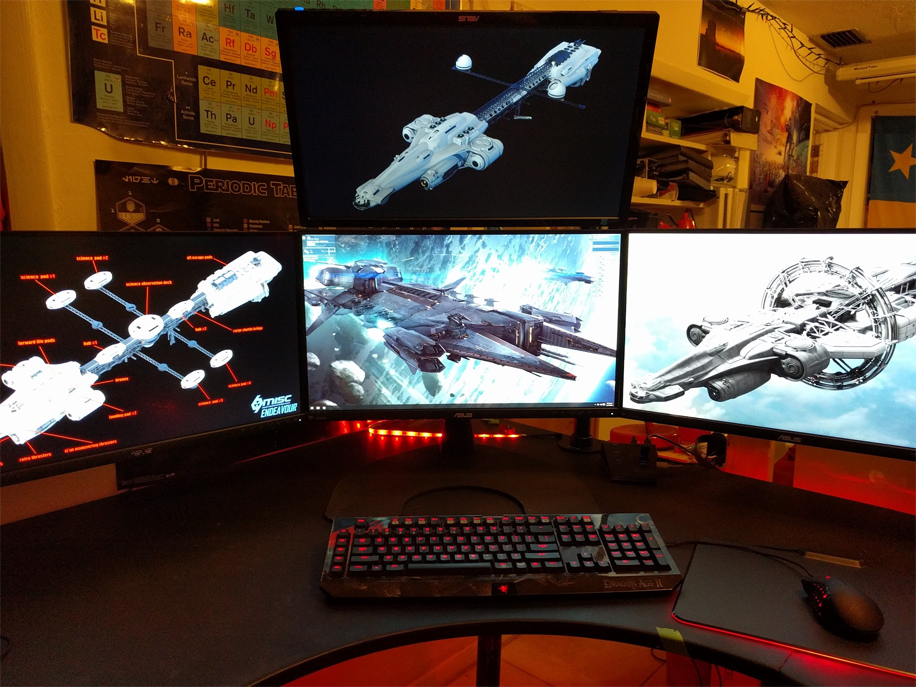
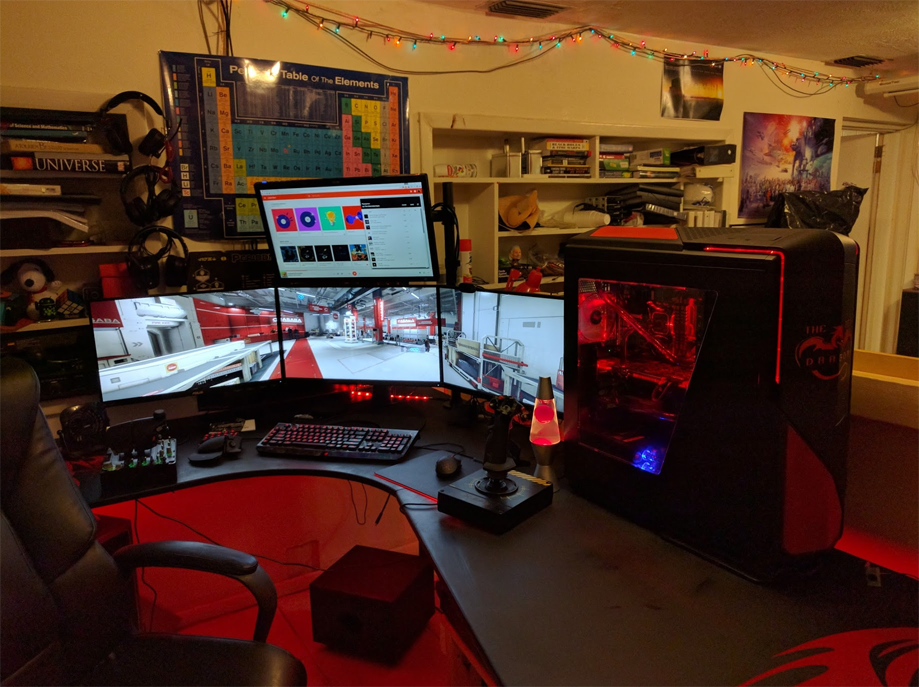
Here are some glory shots of the system.
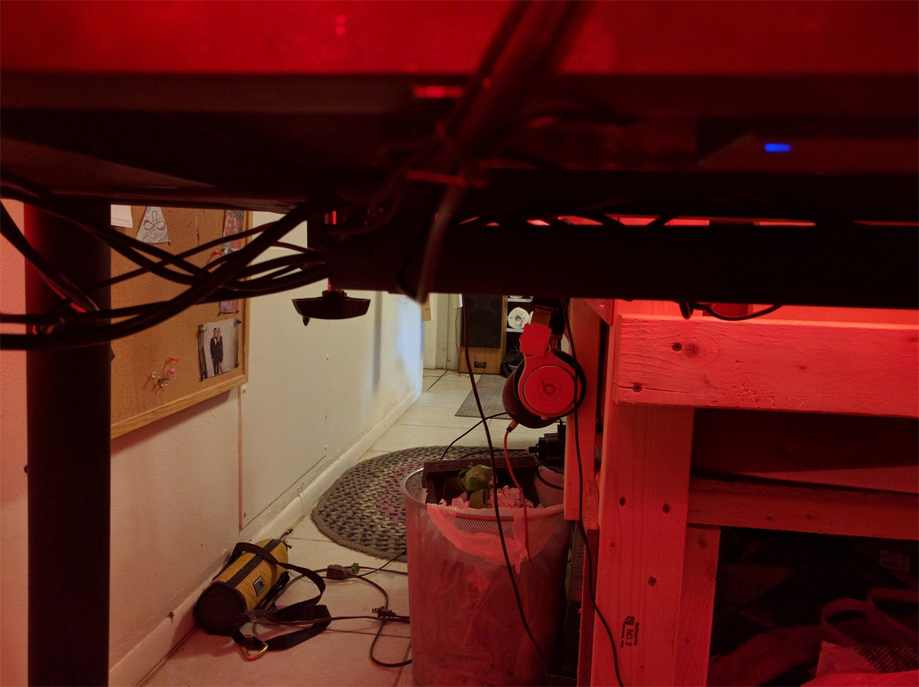
Here is the completed cable management.
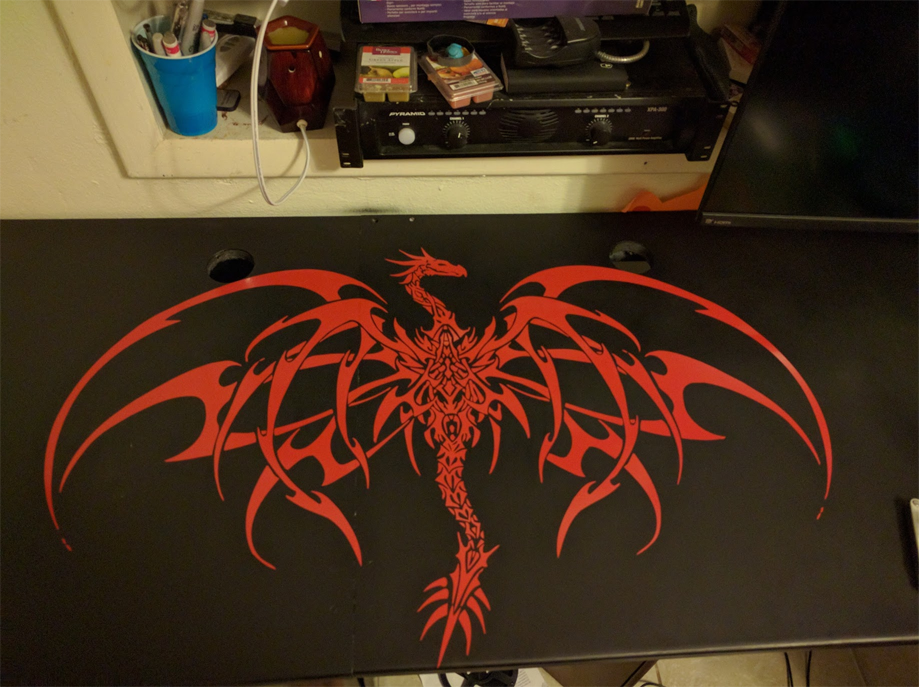
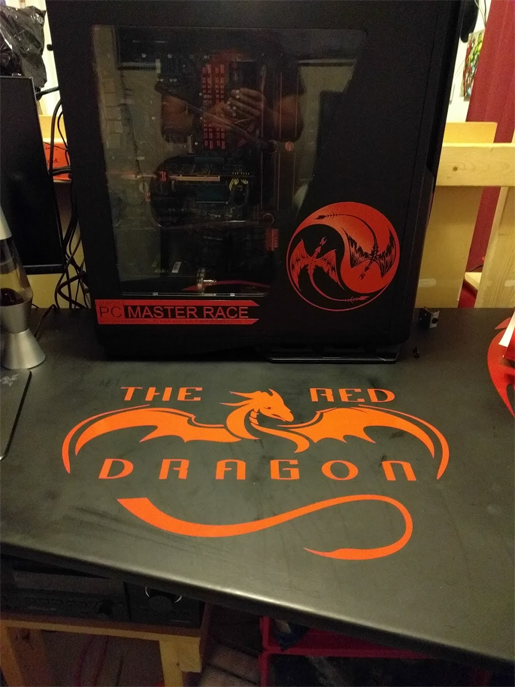
MY VINYL PRINTS CAME IN! Look at their glory!
Here you can see my dresser access from the desk.
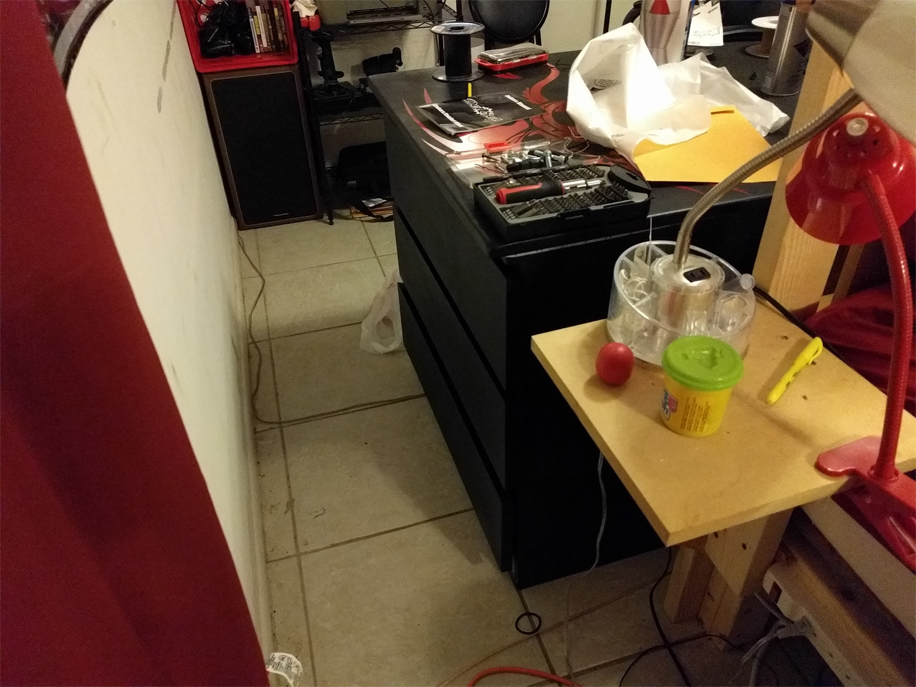
I got a lava lamp because lava lamps are cool.
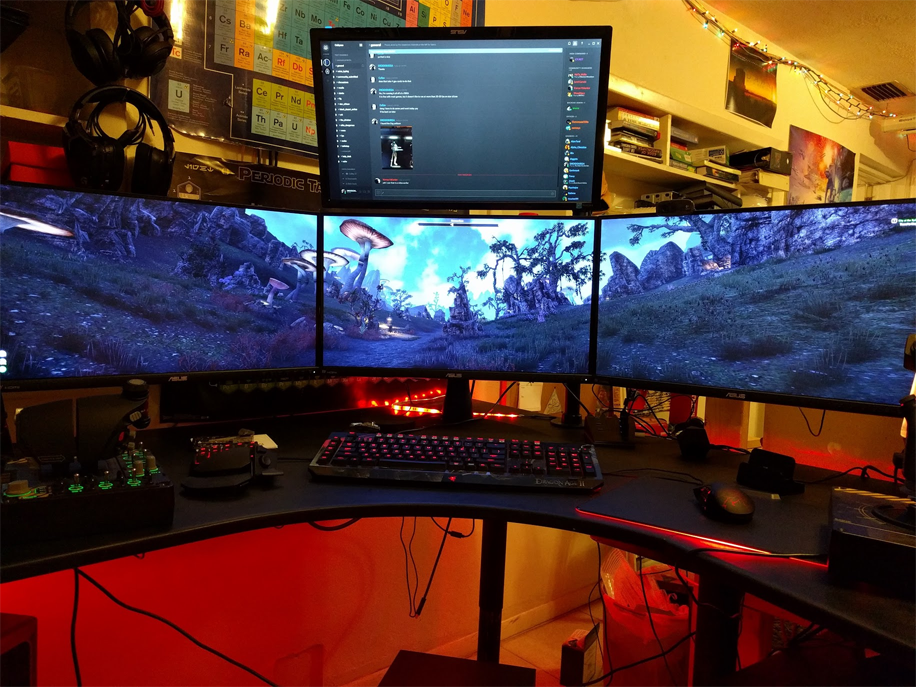
Some more glory shots of the setup
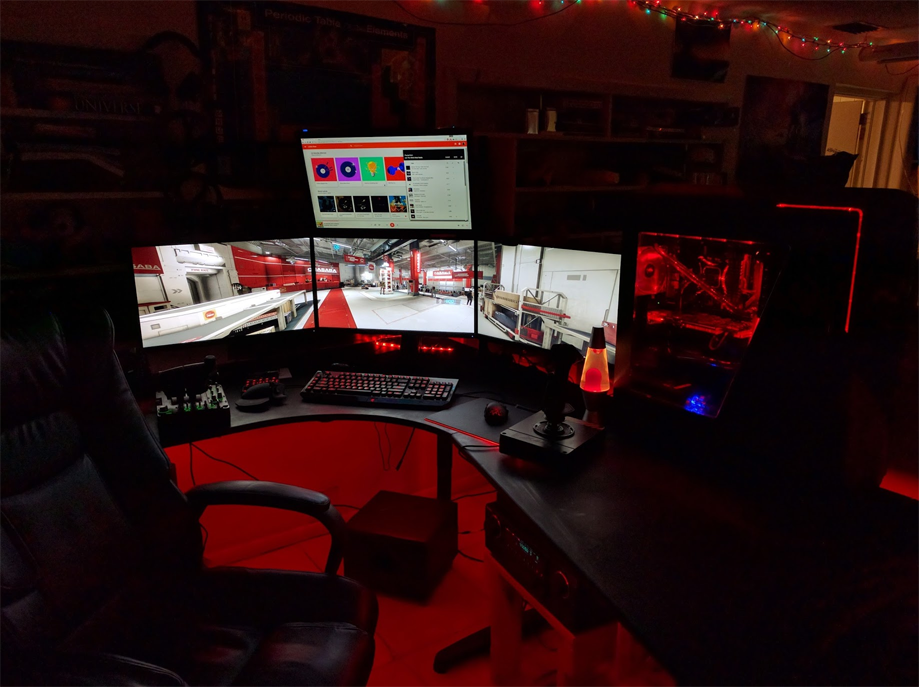
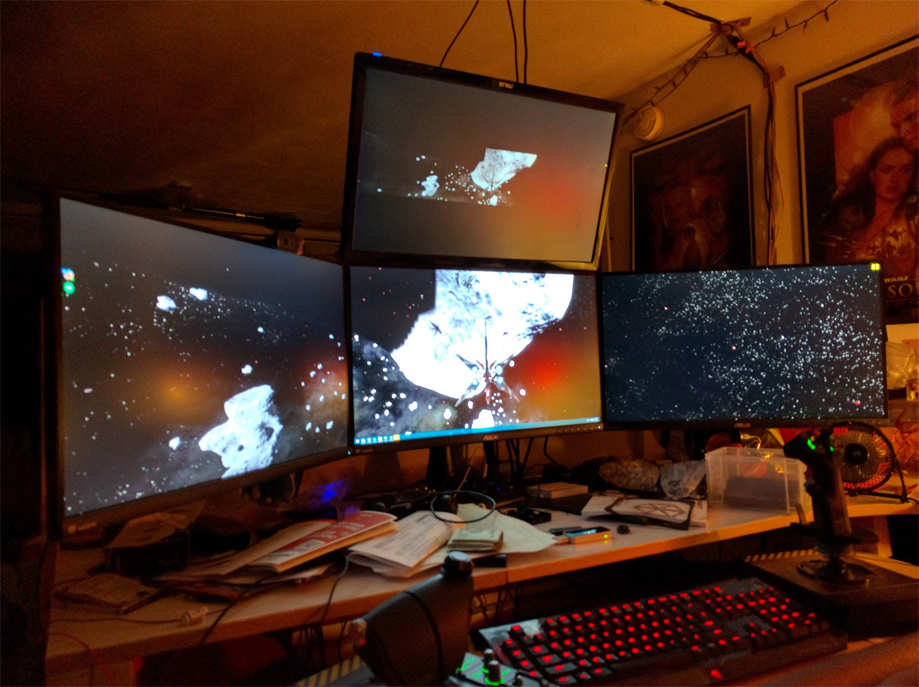
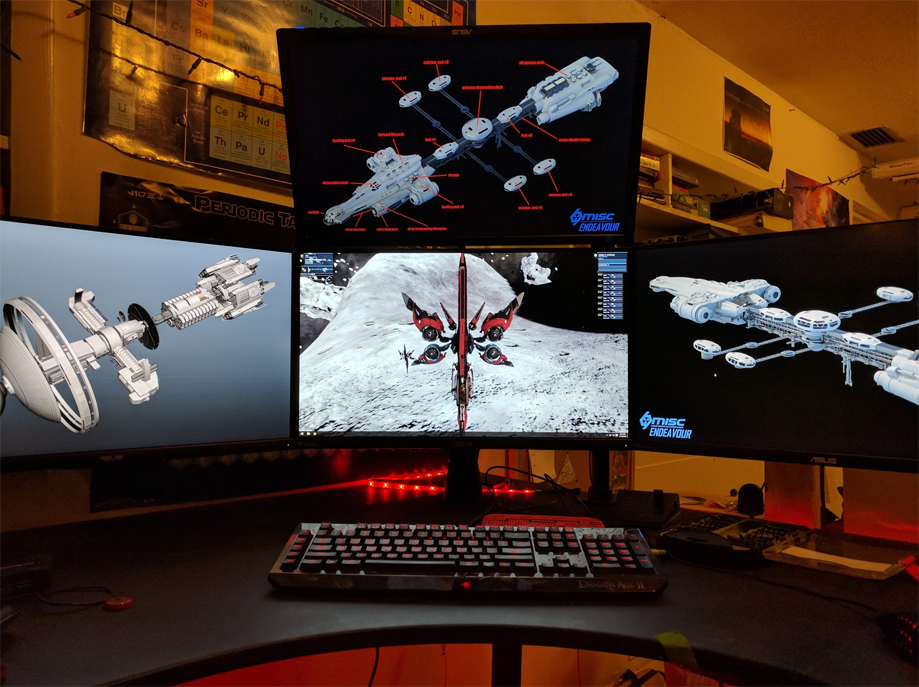
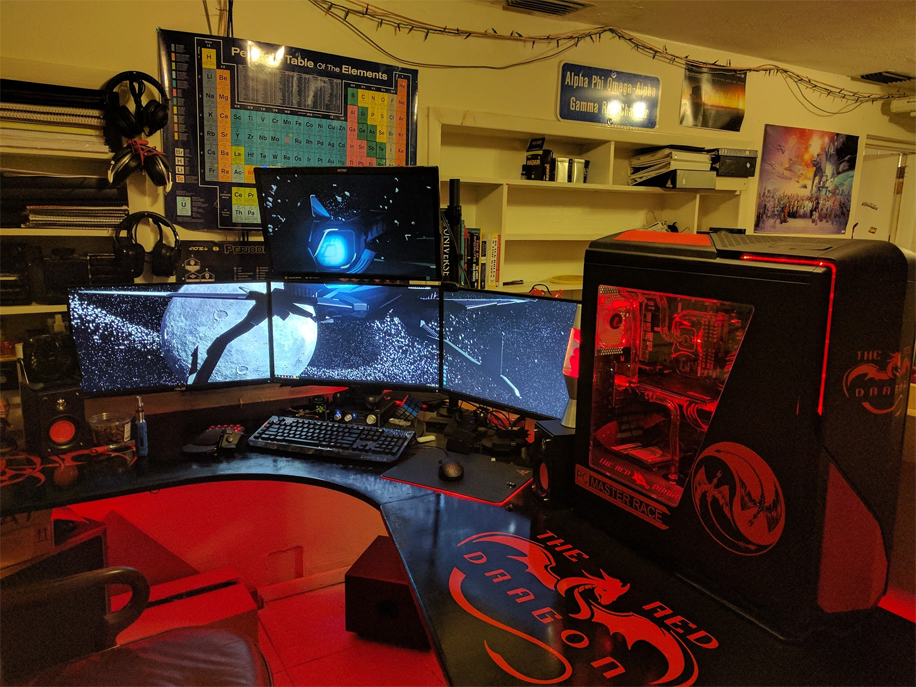
Triple screen gaming!
More of my vinyl prints have come in.
The dry erase paint came in, I had to take my system apart so that I could paint the desktop.
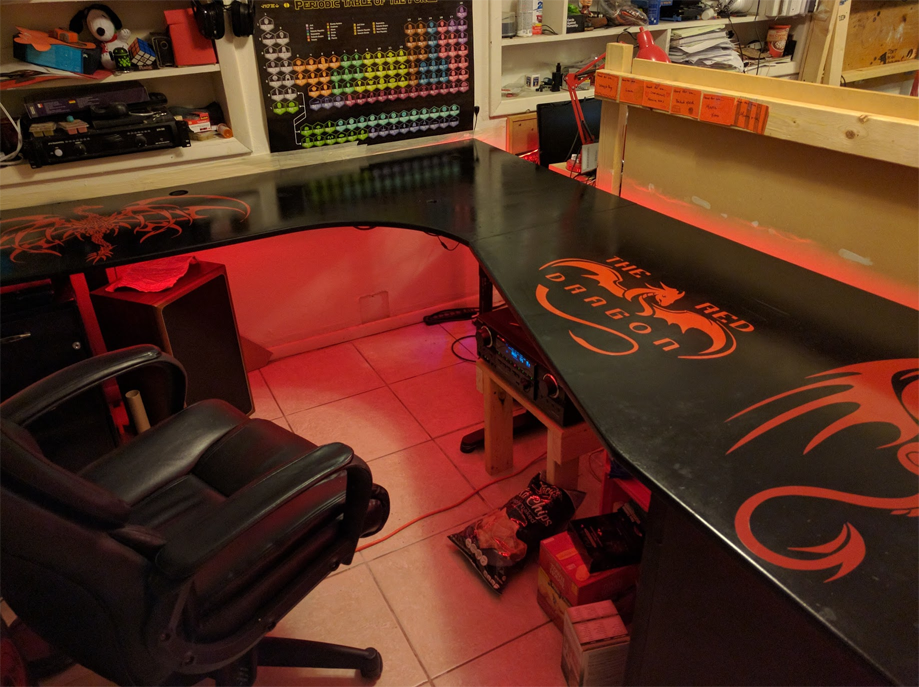
Finalized after this project was completed
What I currently have now