


Revisiting the Red Dragon
To get the full story please see my original post in the forums at this link here.
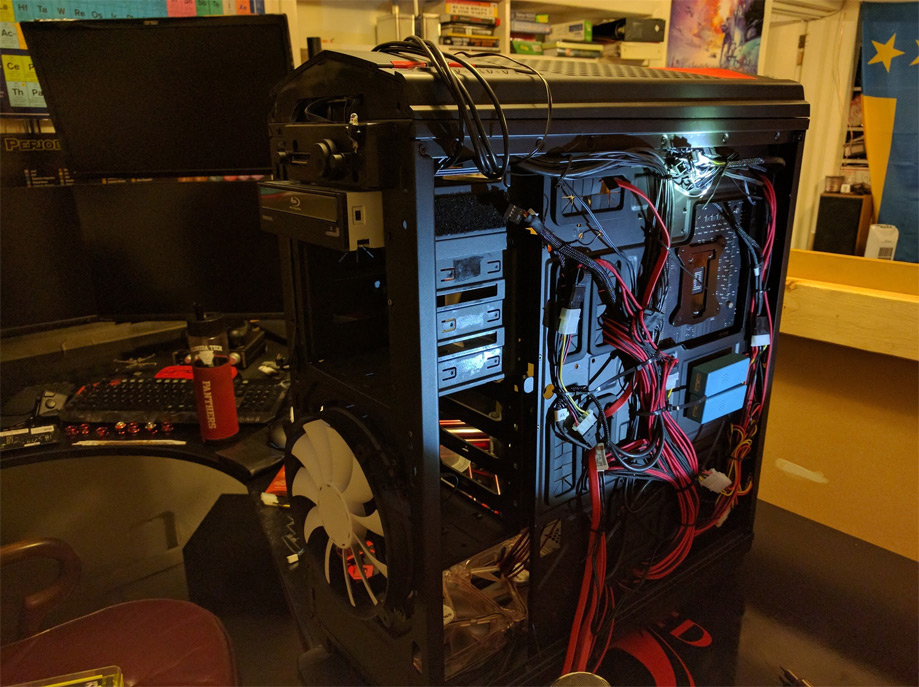
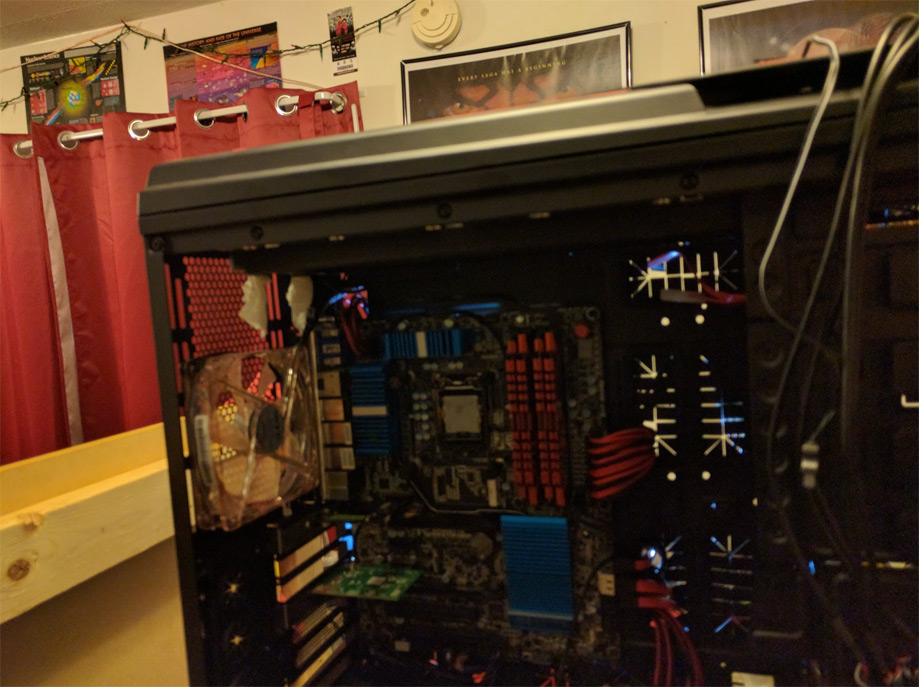
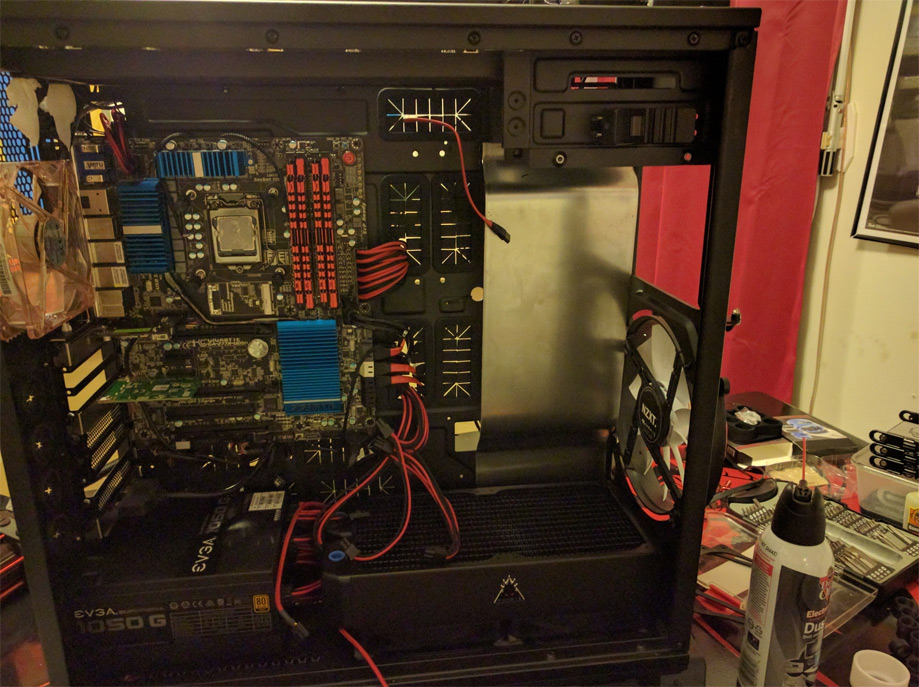
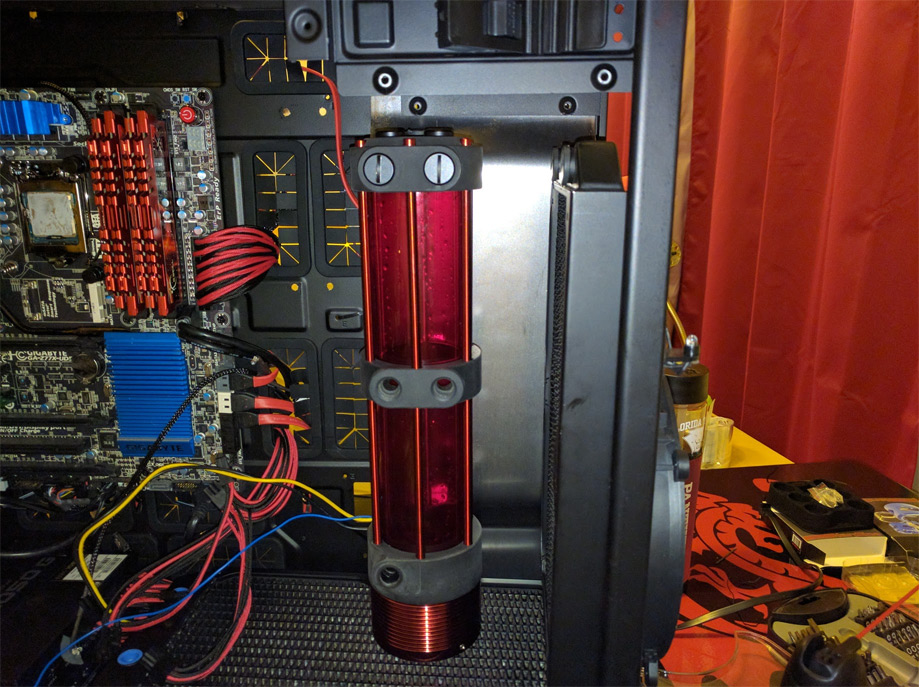
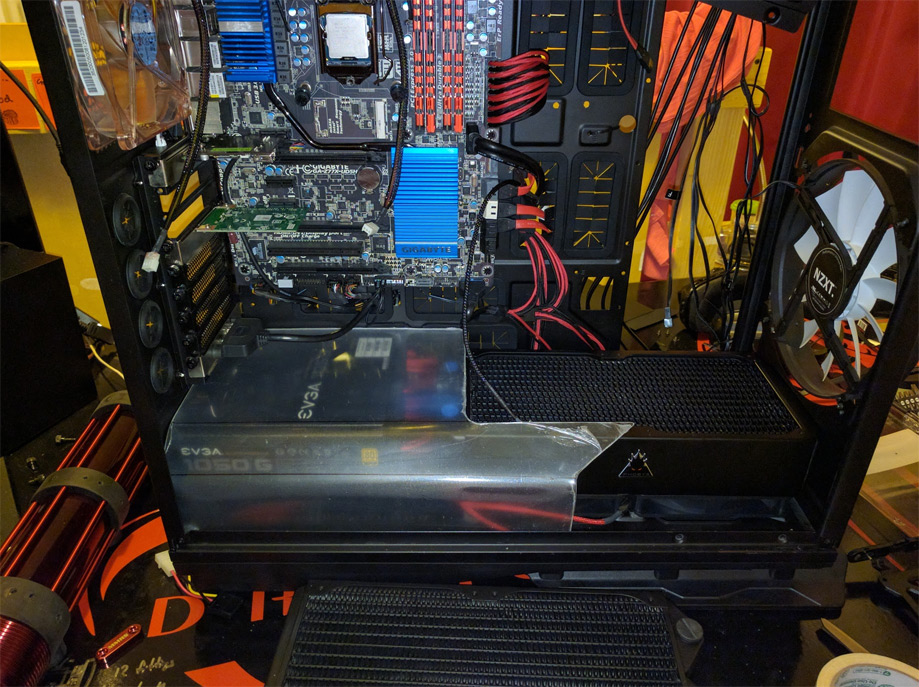
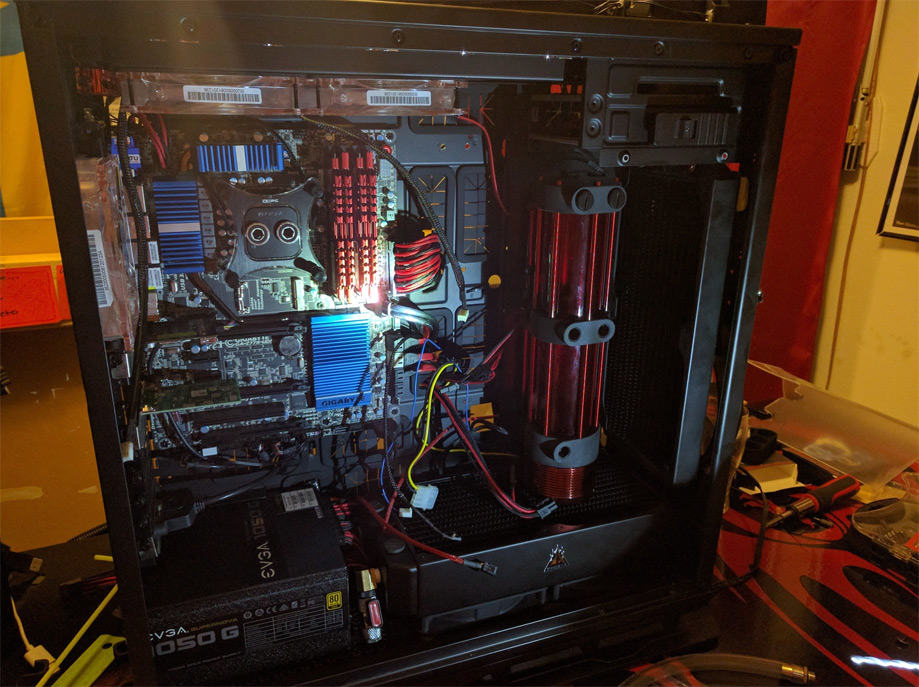
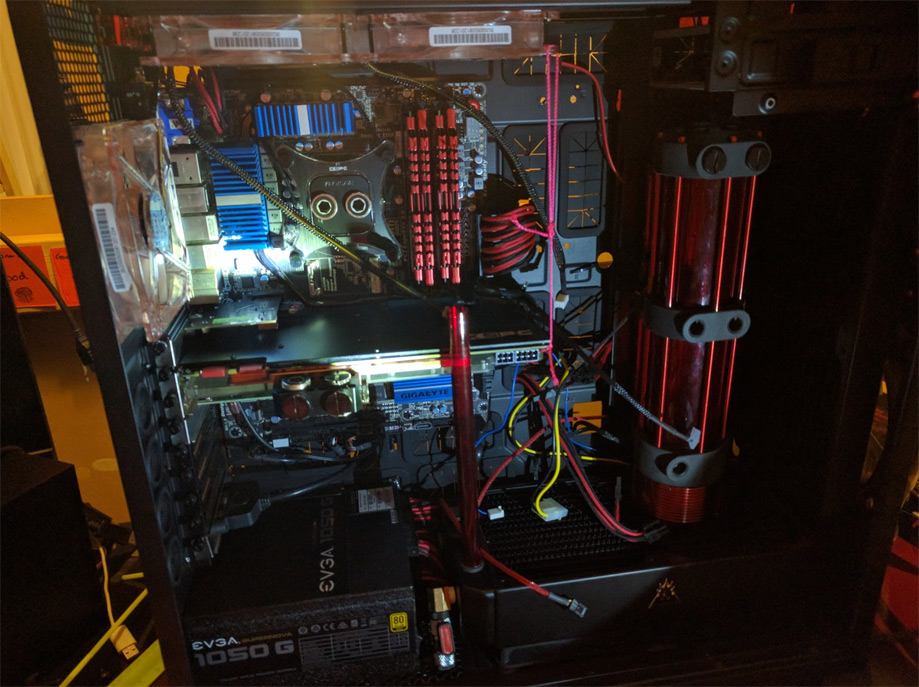
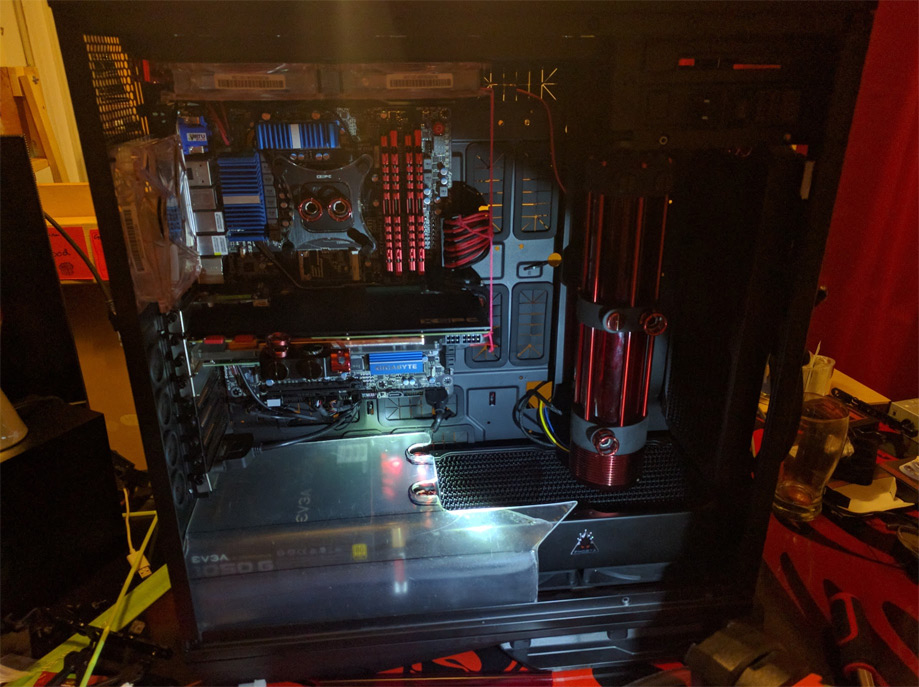
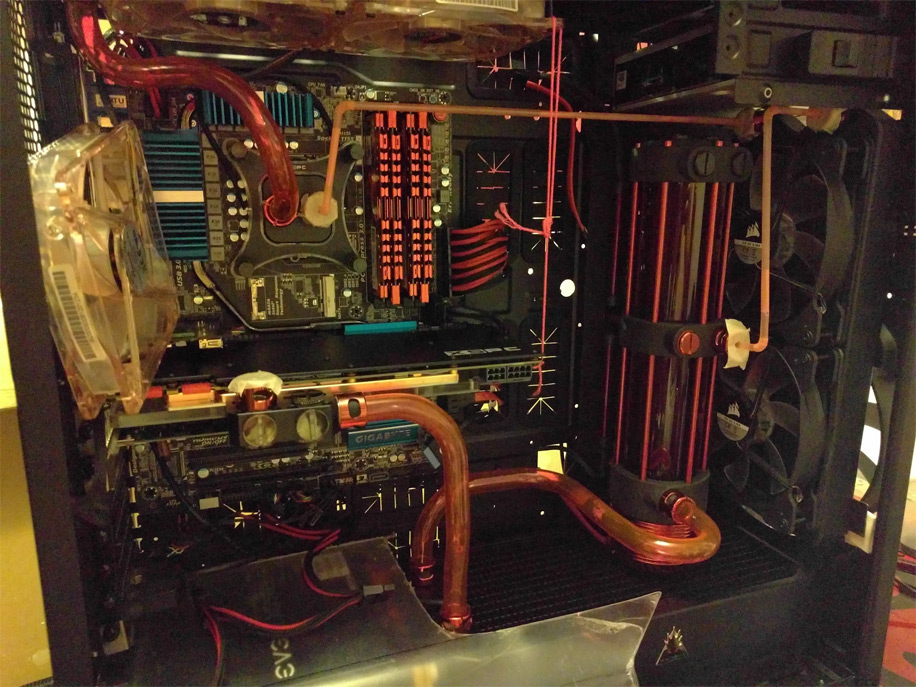
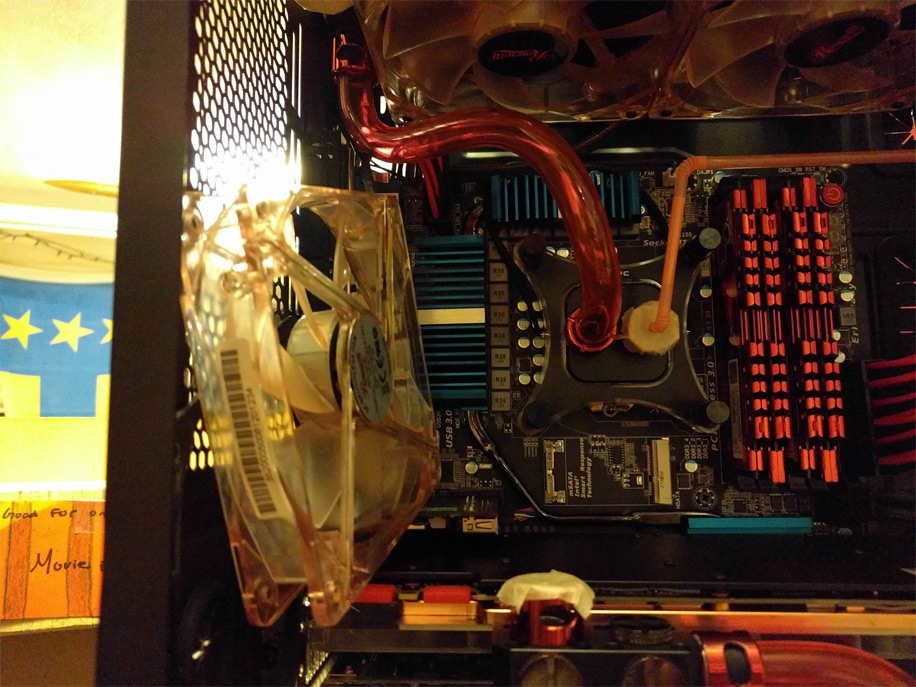
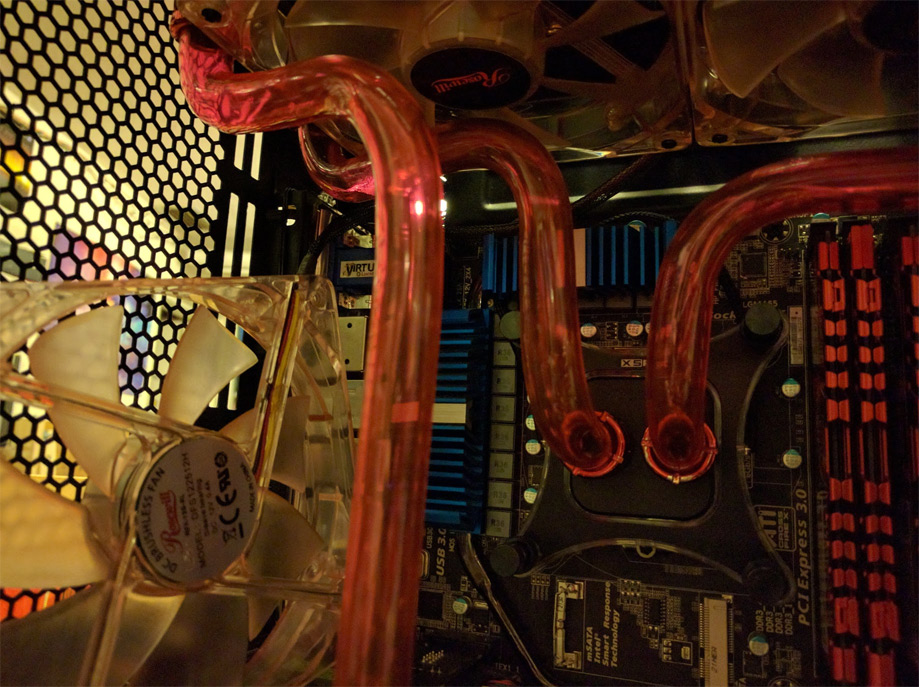
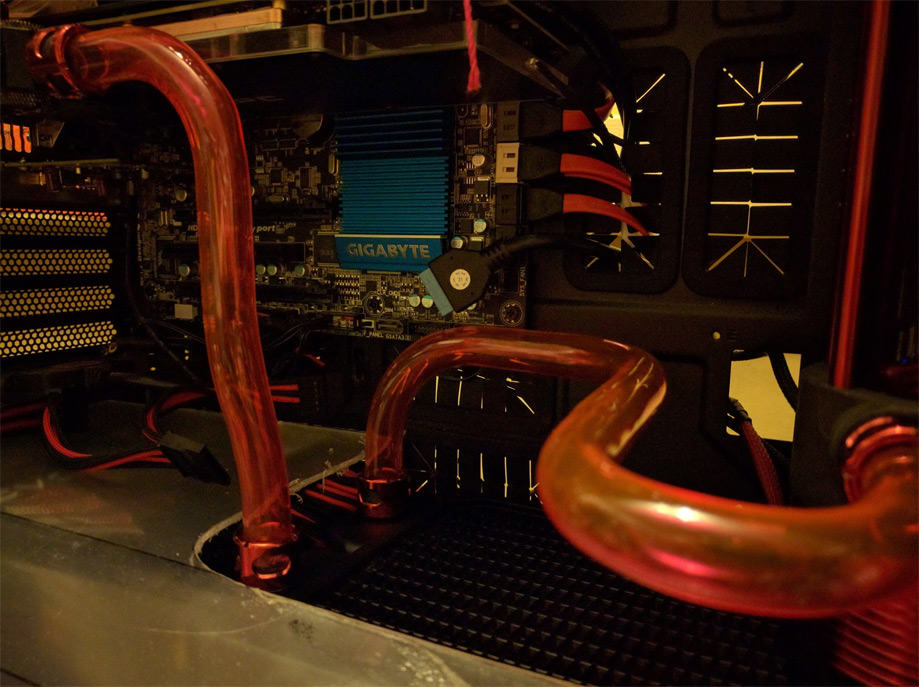
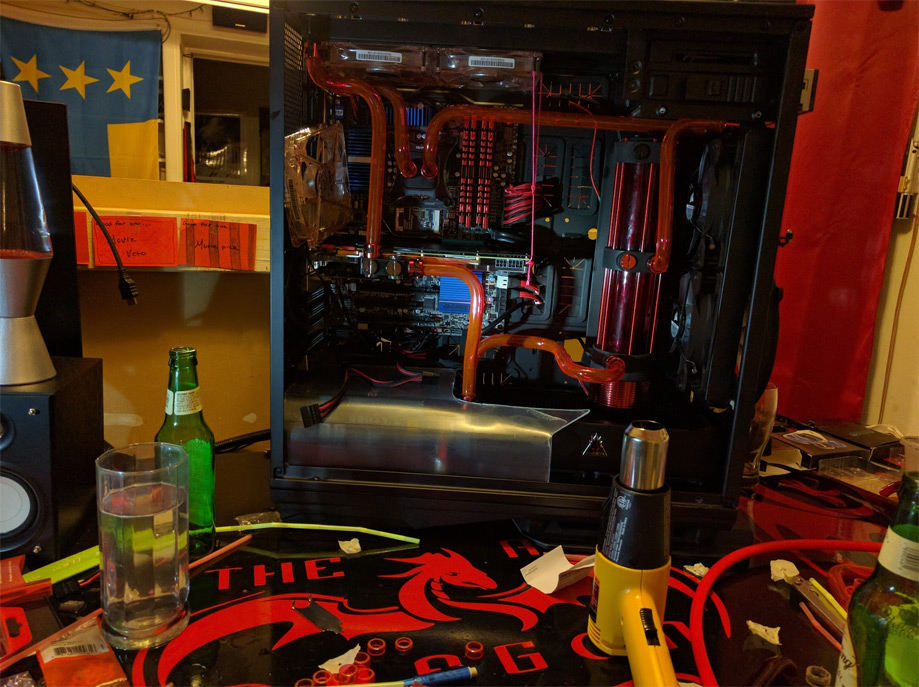
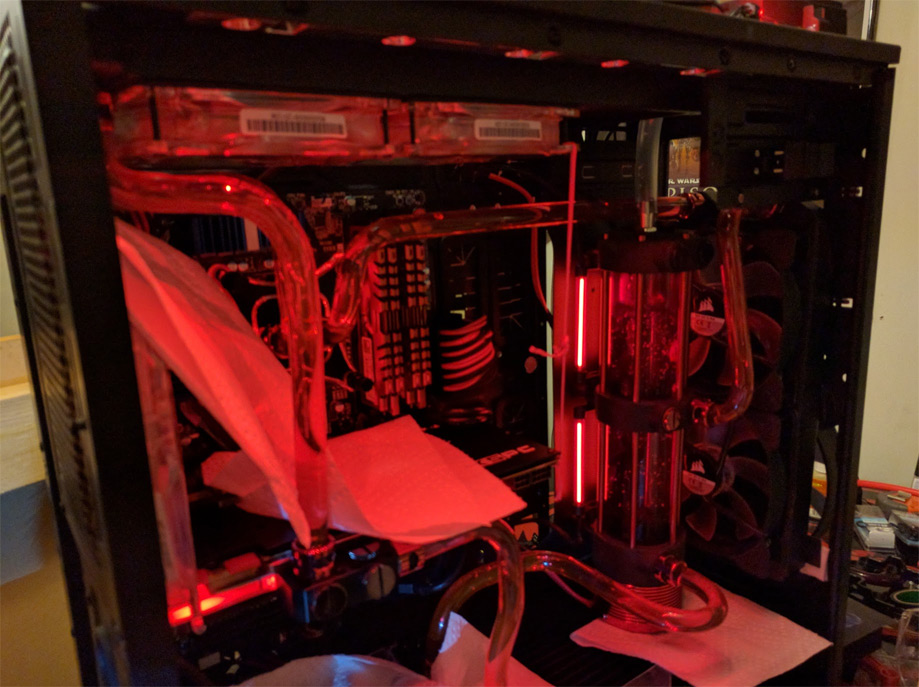
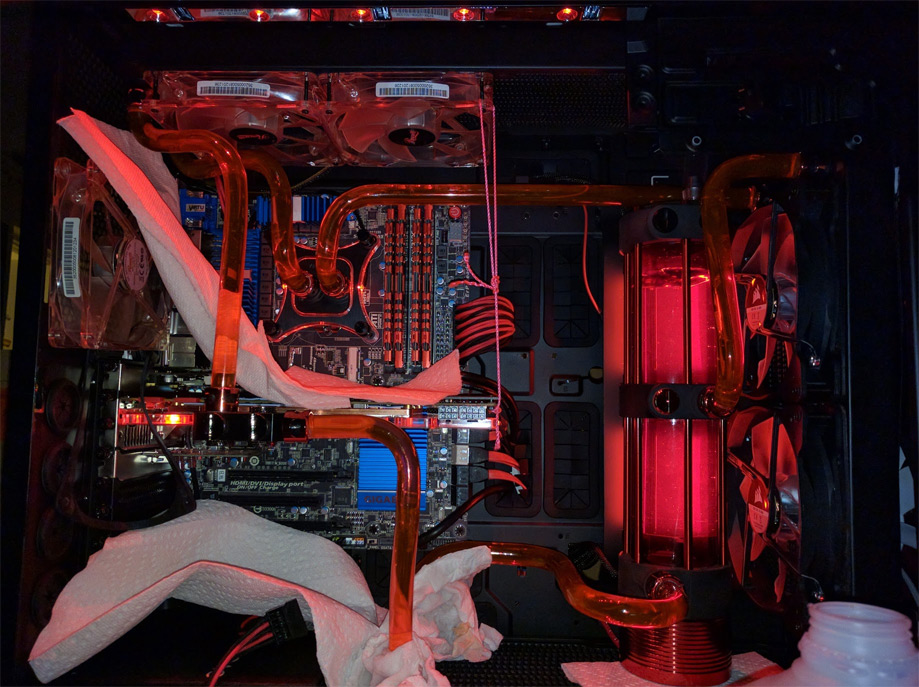
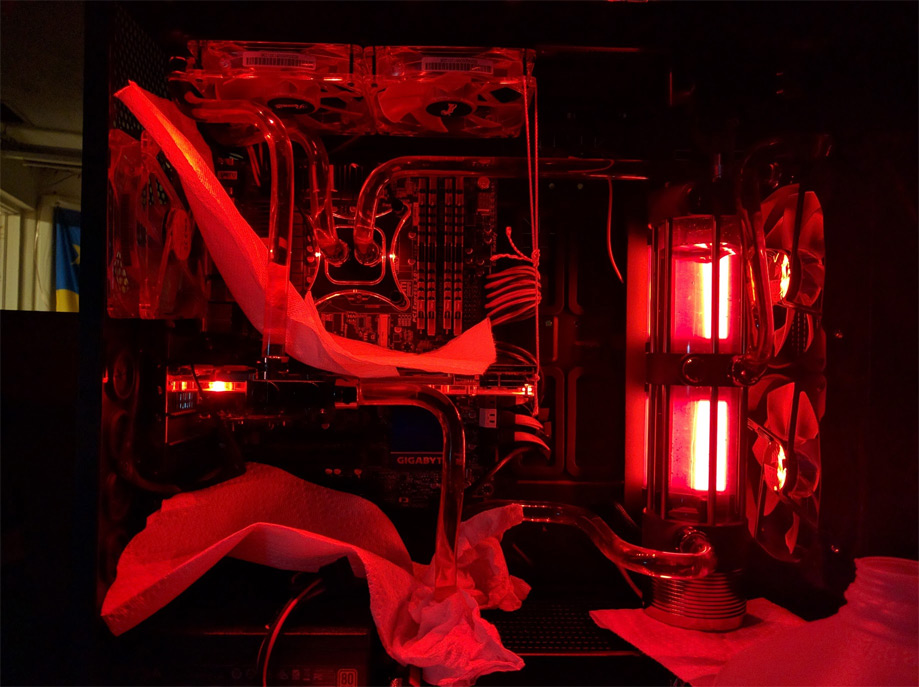
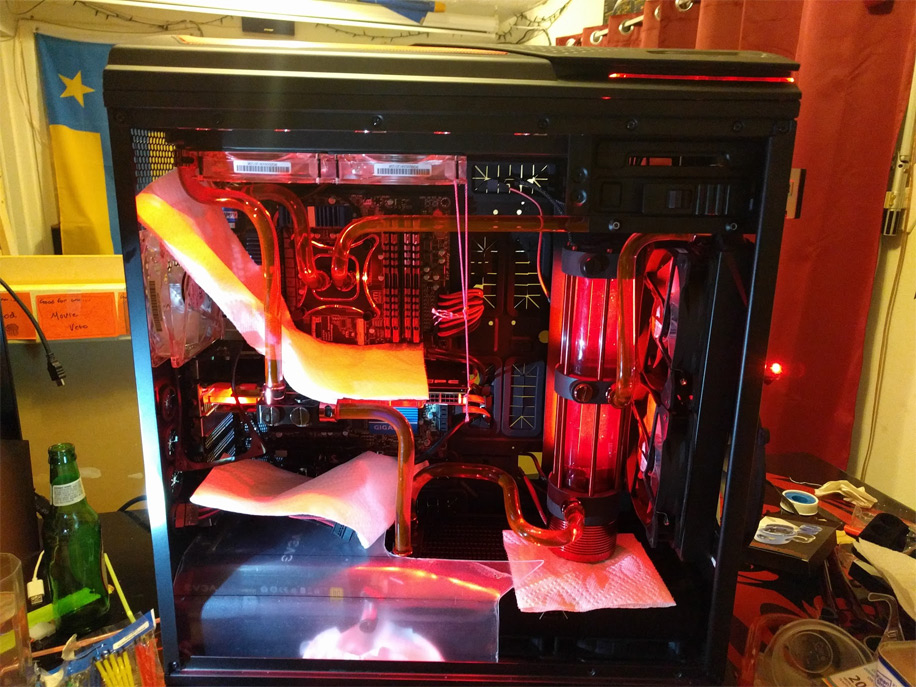
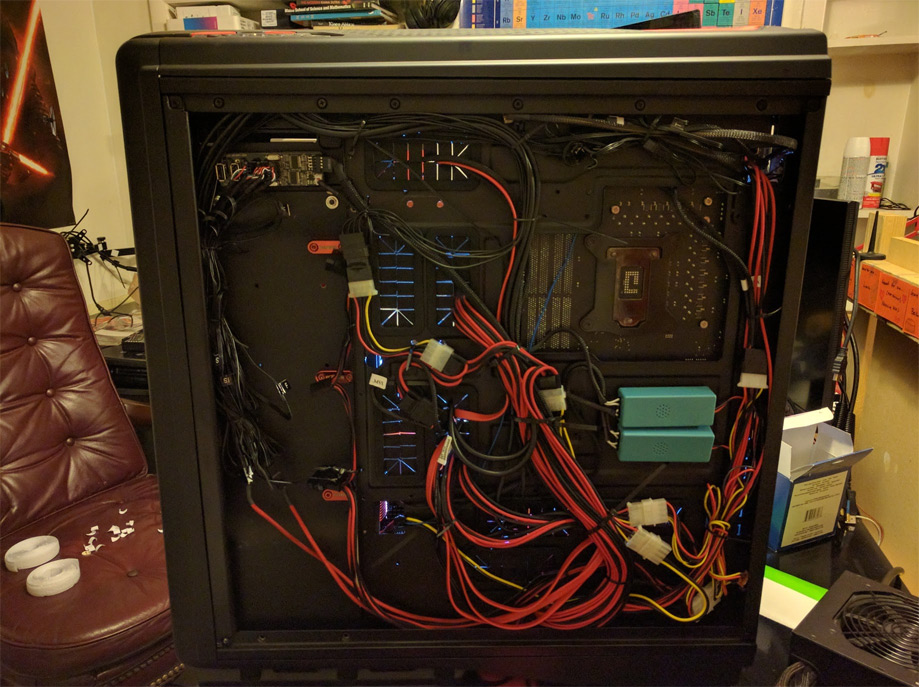
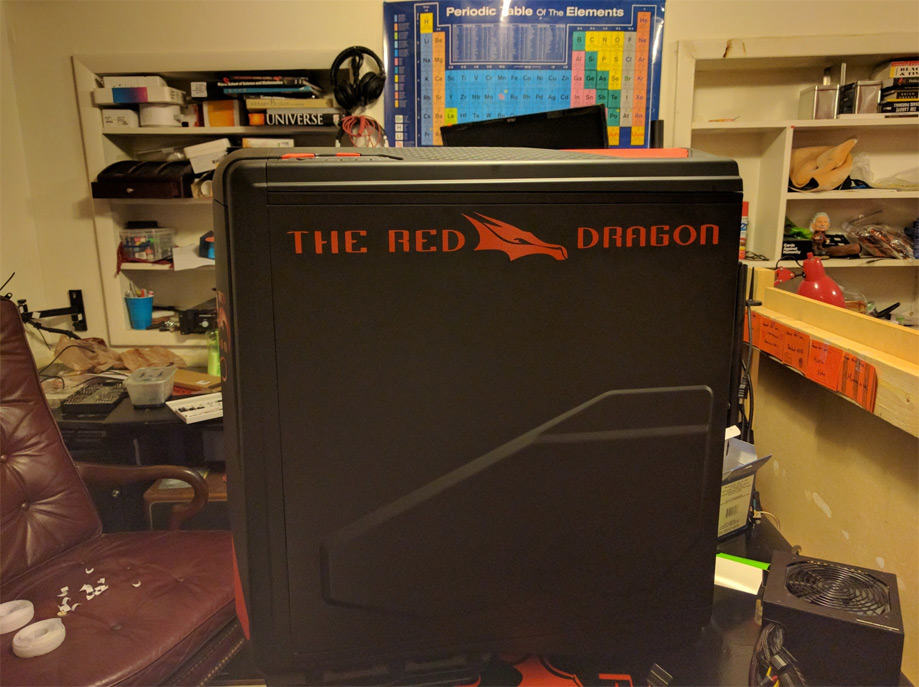
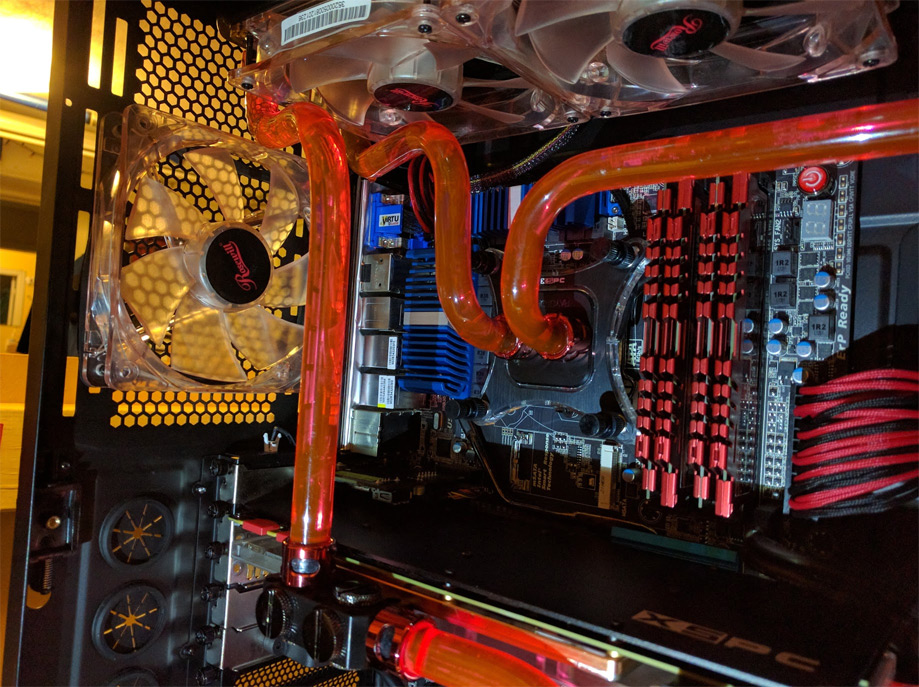
For those of you who do not know, back in February I upgraded my rig to a 980Ti and I built a full custom watercooling loop for my monstrosity of a computer aptly named The Red Dragon. However, after a few months it was getting hot again and I decided that I was not satisfied with my cooling system so it was time to re-do the loop. This means that I would have to painstakingly dissect my computer and rebuild it. I decided that there was not enough space in my Phantom 820 case to fit all of the radiators in it so I would have to do some extensive case modding. I also decided switch out my PSU for a smaller form factor 1000w instead of the monstrosity that I had currently. Here is a before and after picture for you:
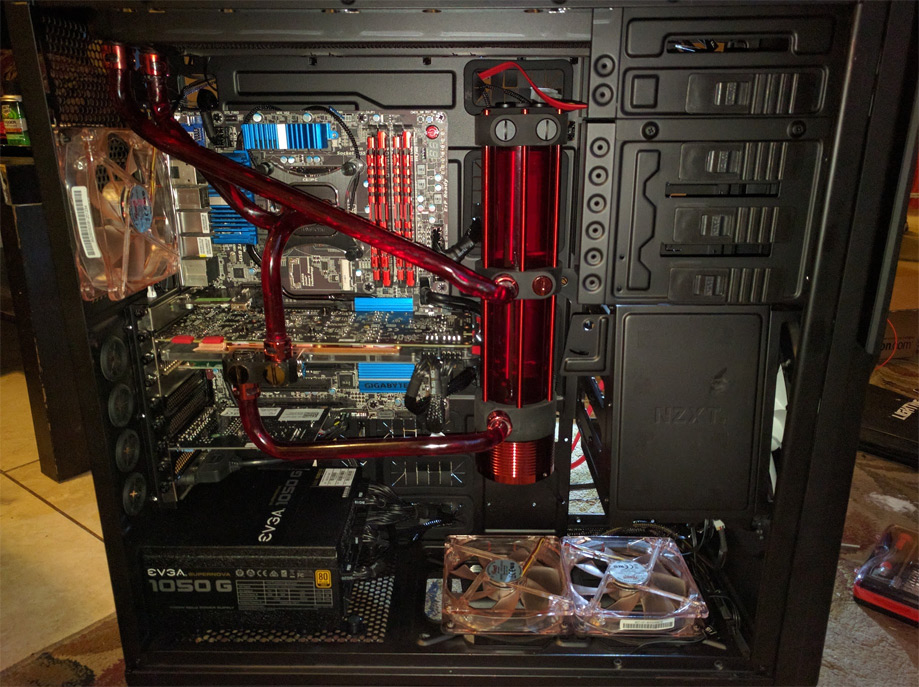
Before rebuild
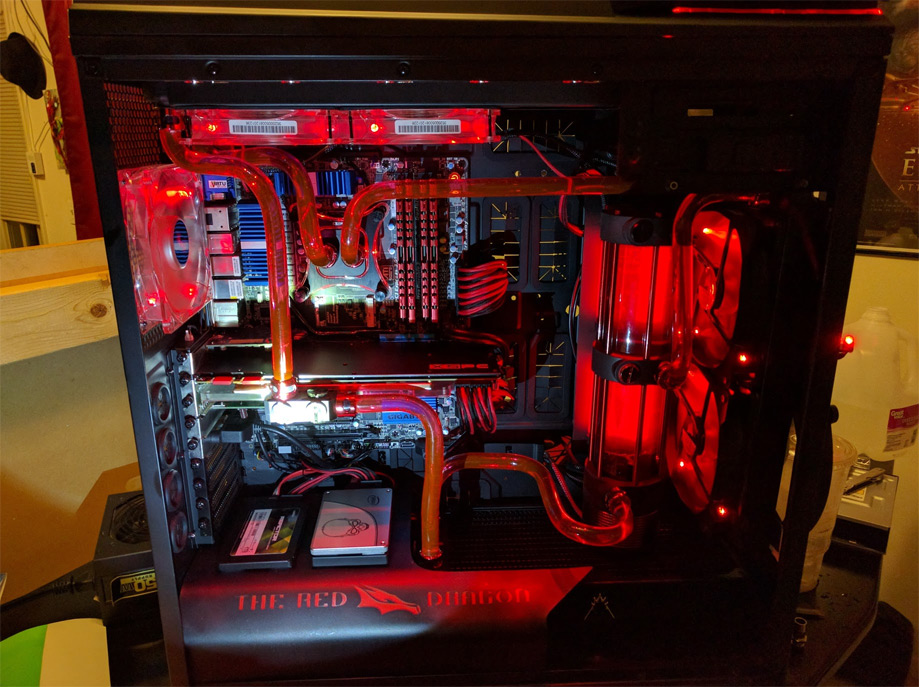
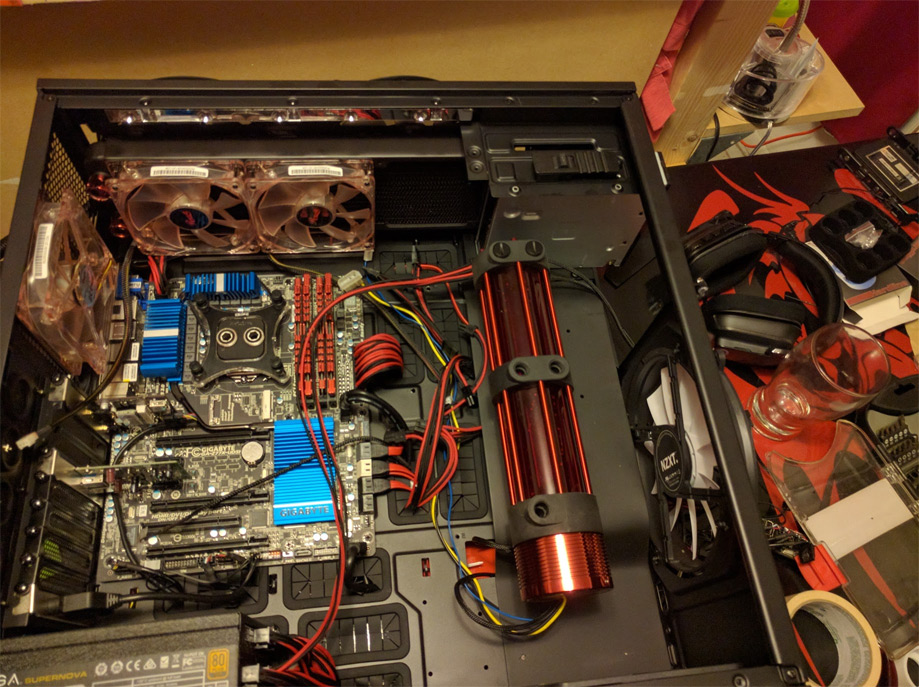
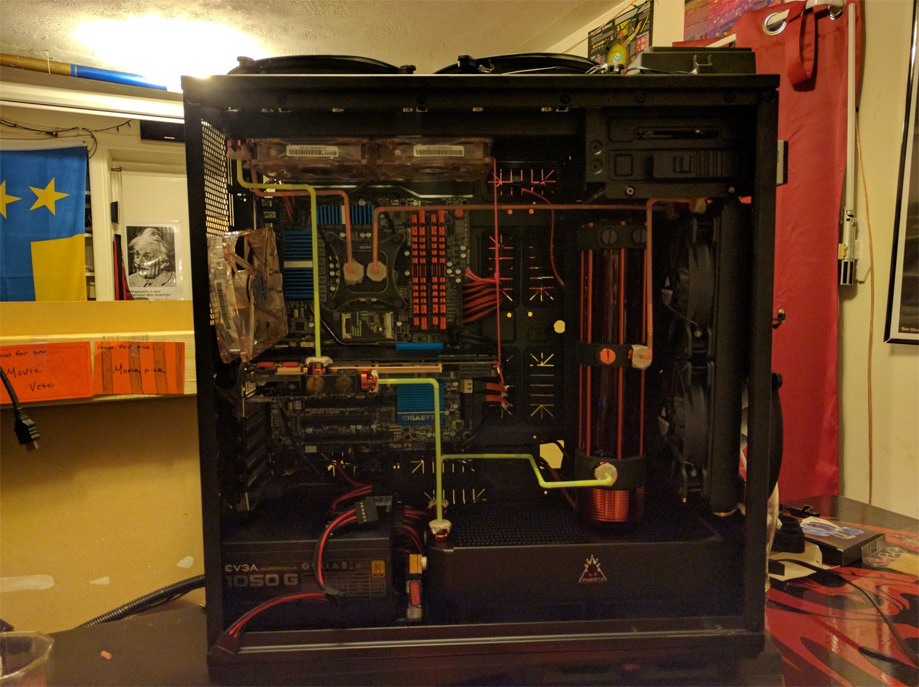
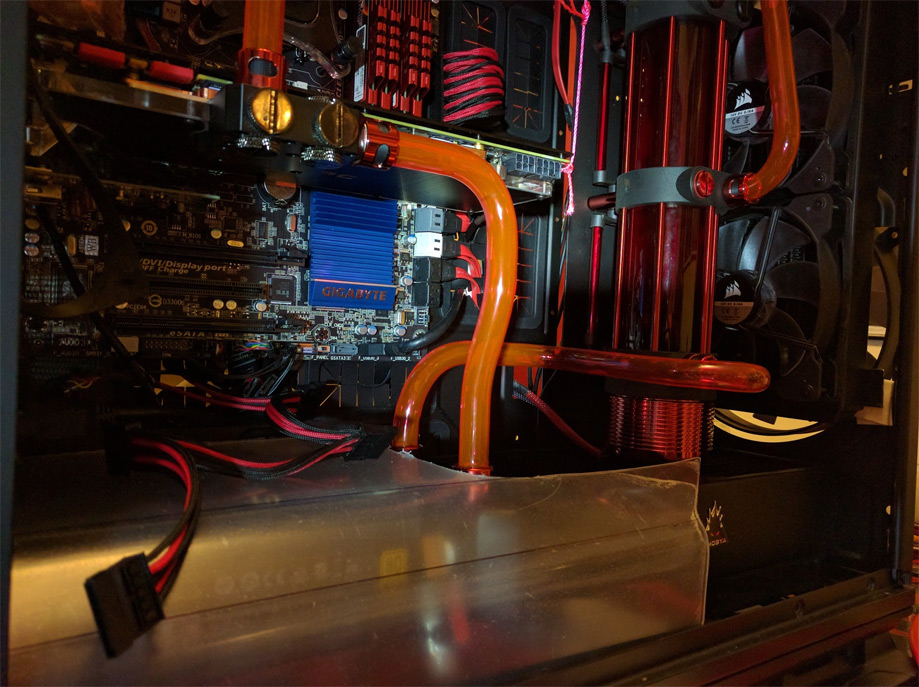
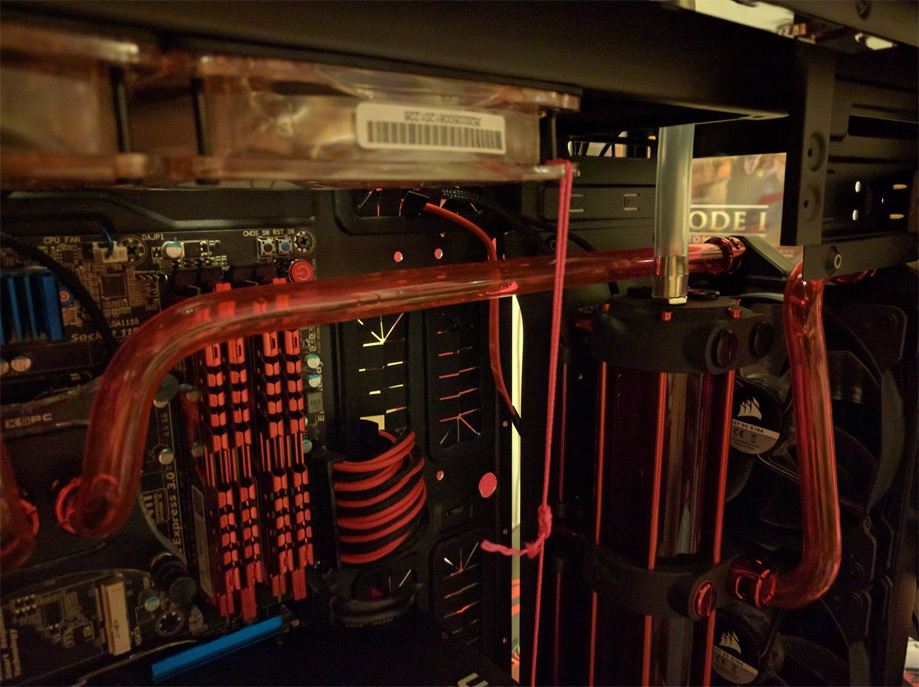
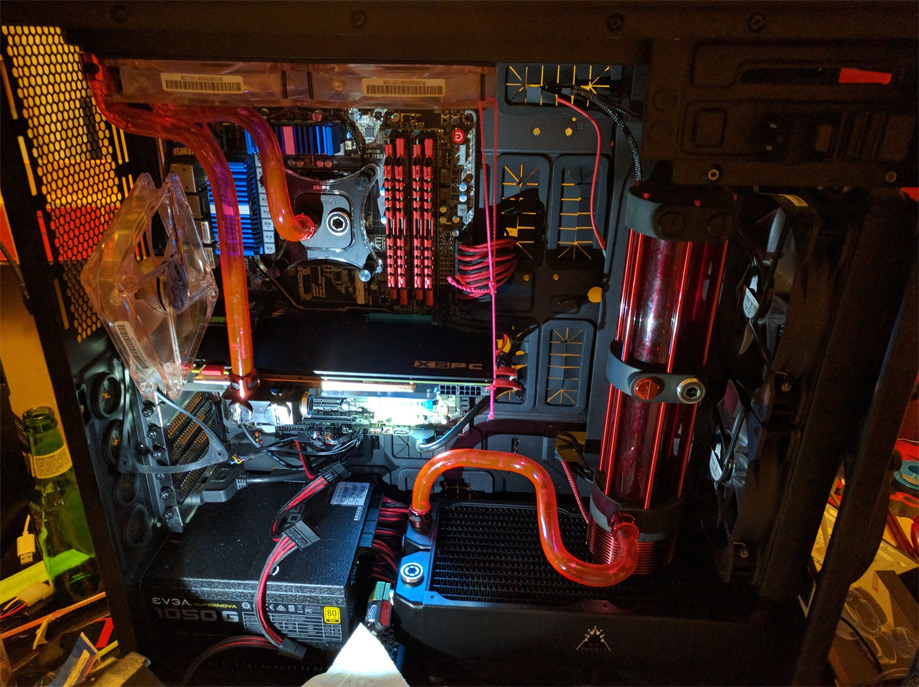
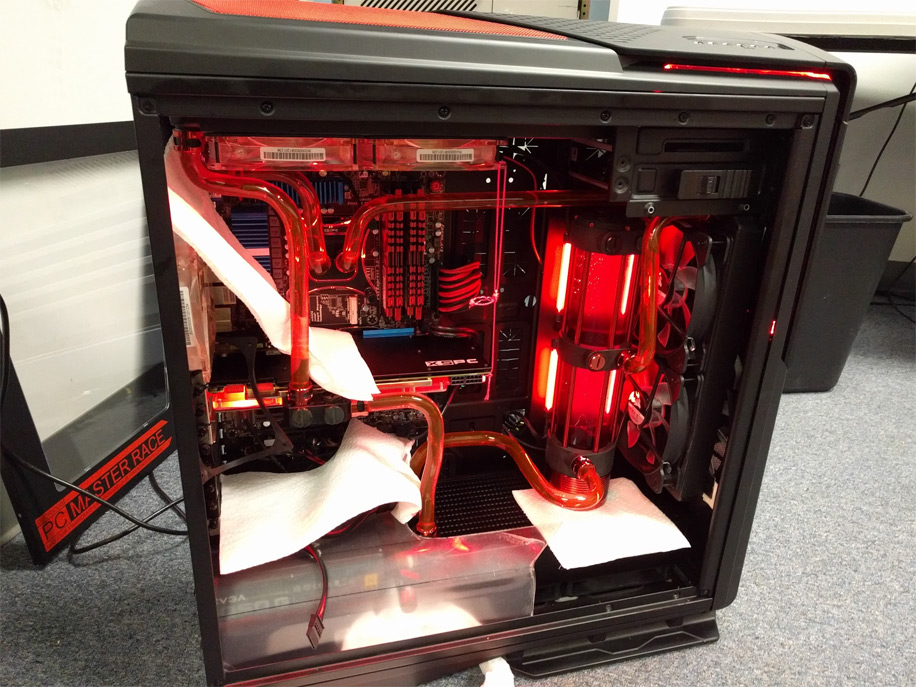
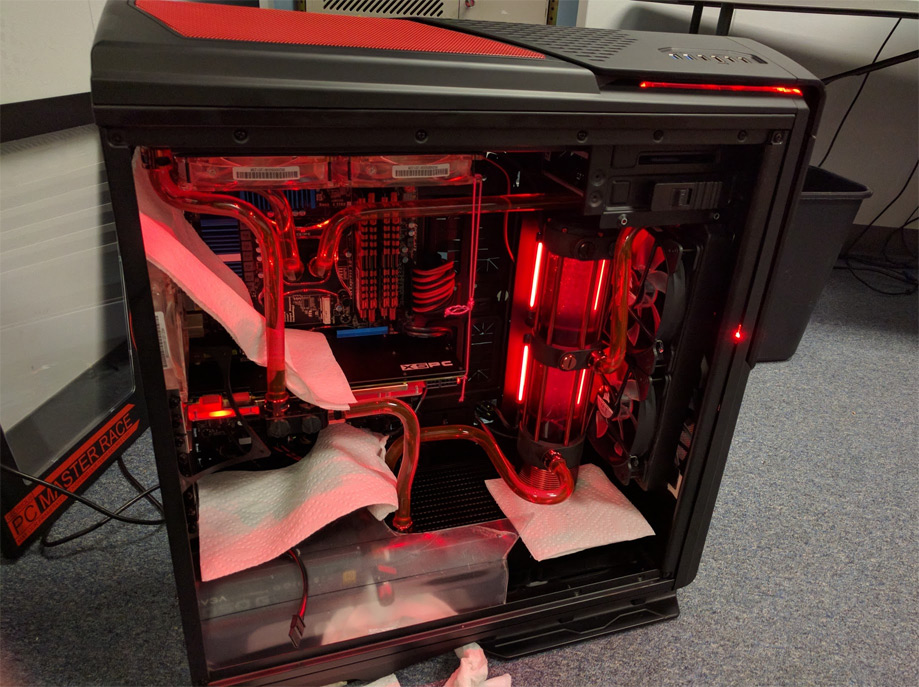
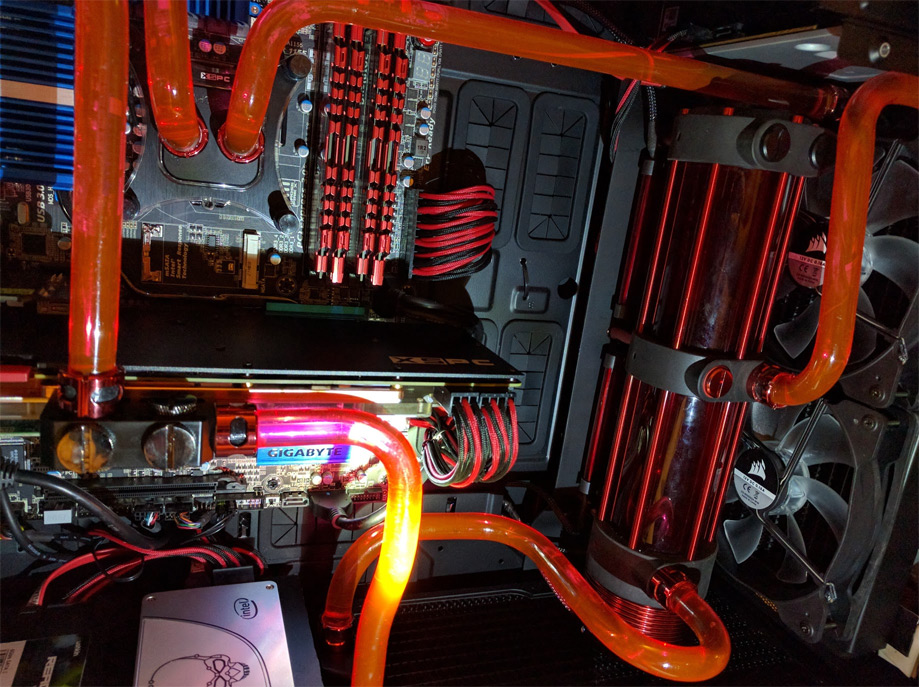
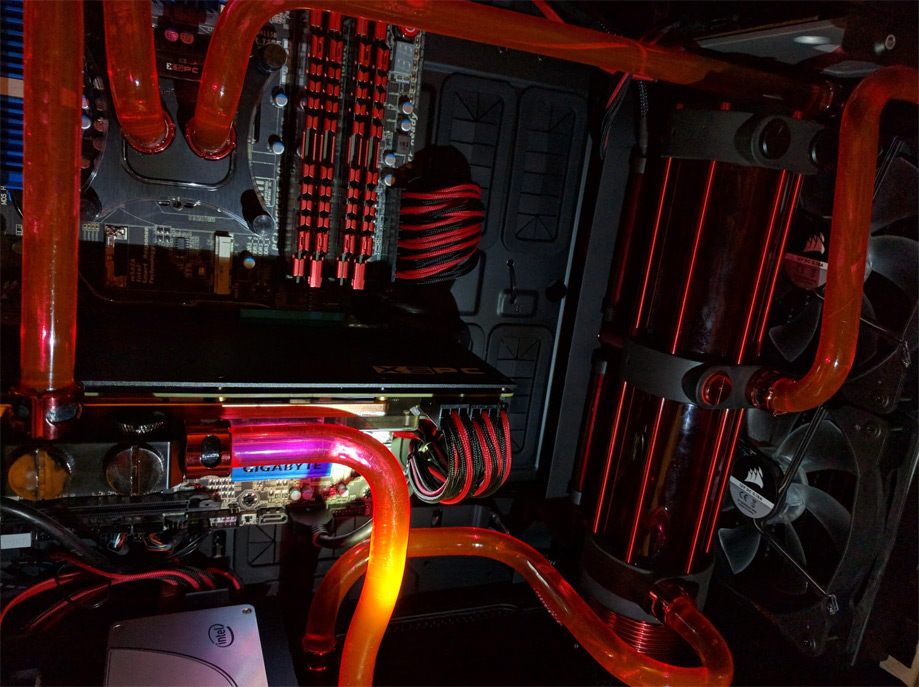
After rebuild
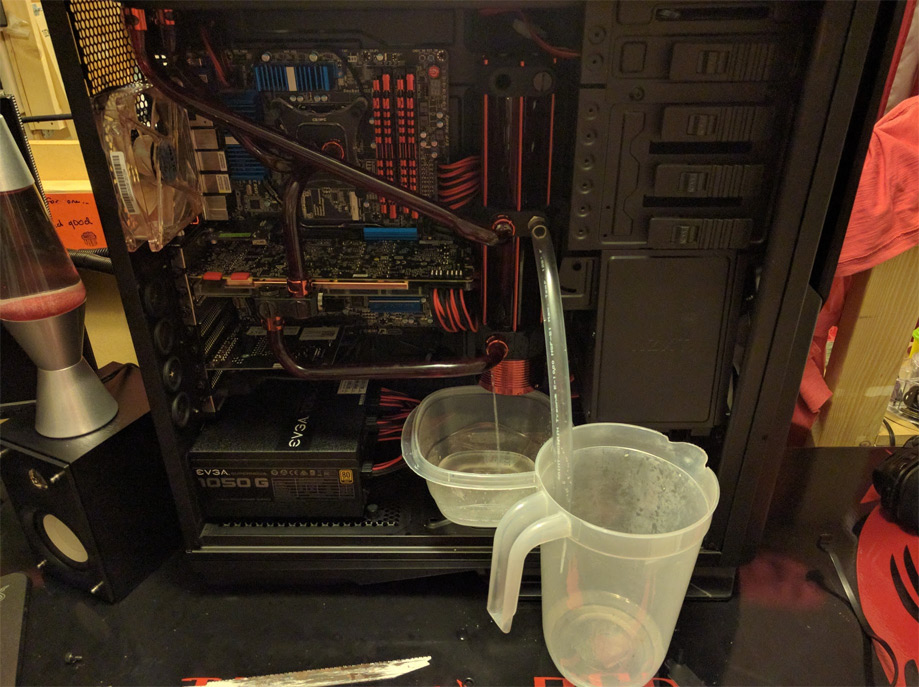
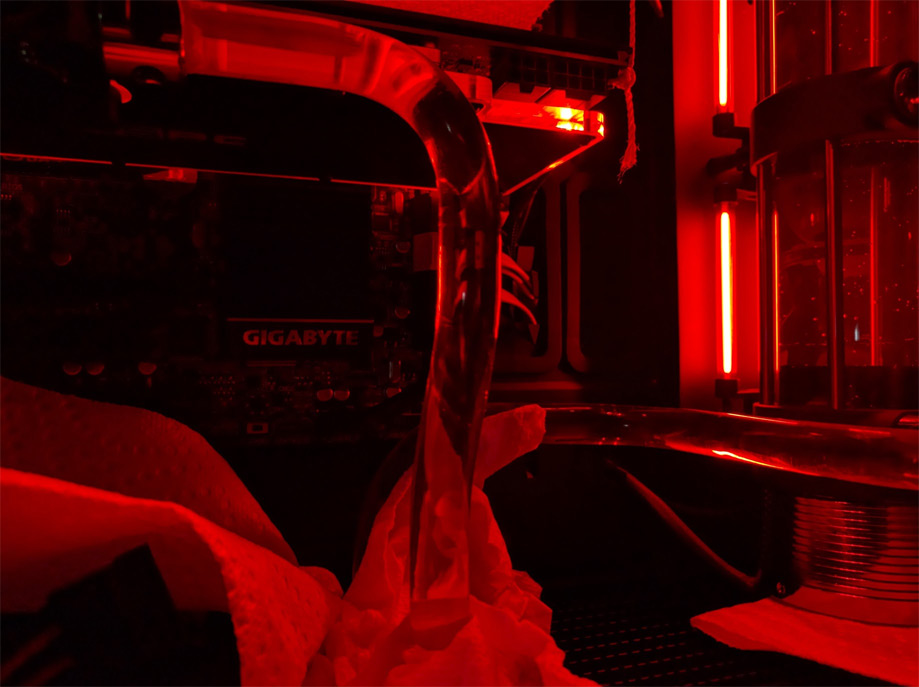
I went from one radiator to three with a total surface area that is about four times that of what I had before. So the first step to taking apart a water cooled computer is to of course drain the water out, here is a cringe worthy photo of a jet of water streaming out of my computer from the bottom of my reservoir.
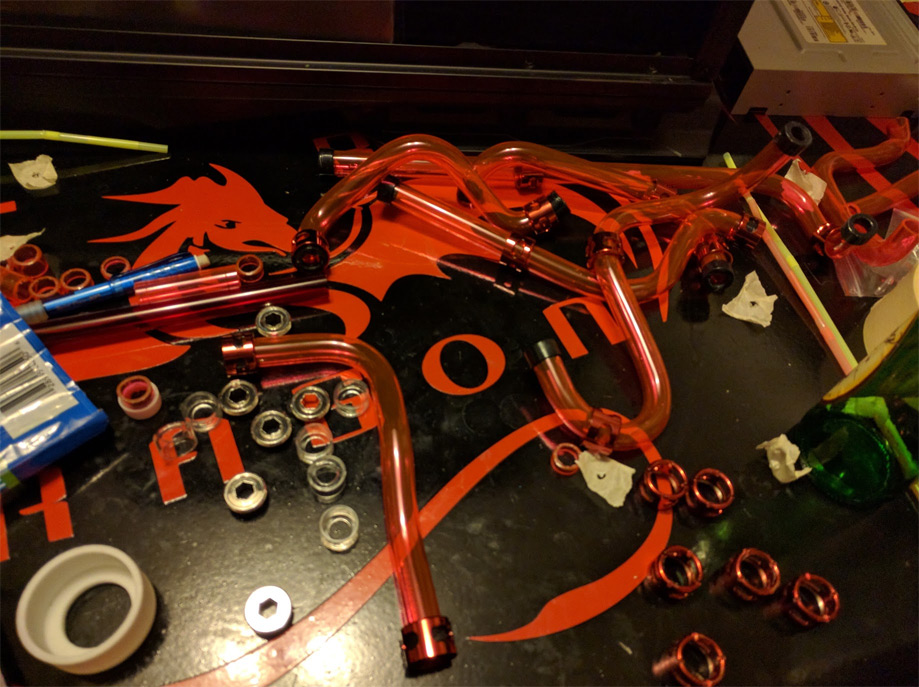
Next I removed all of the tubing
 \\
\\
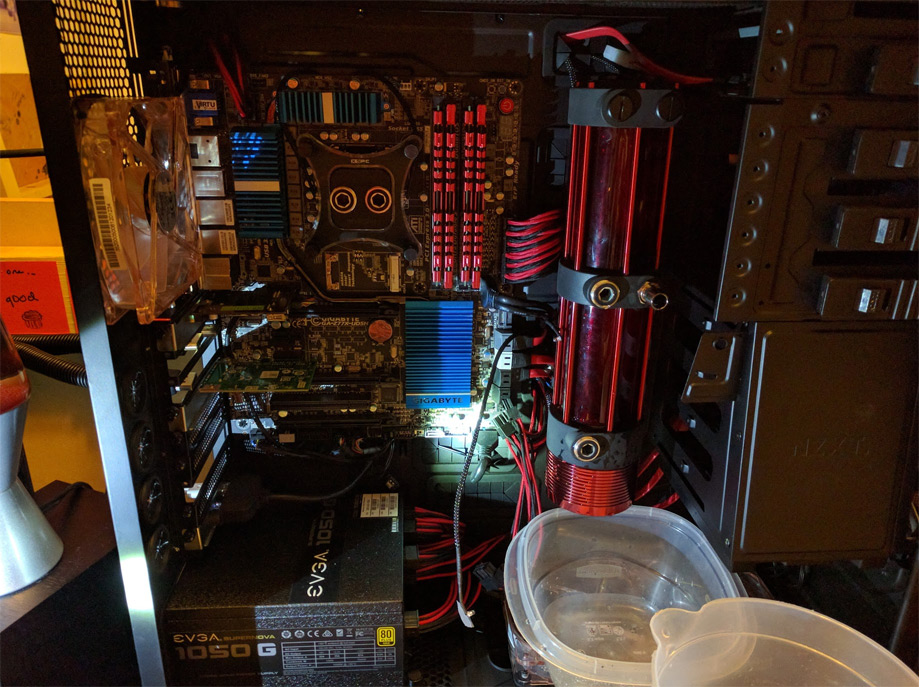
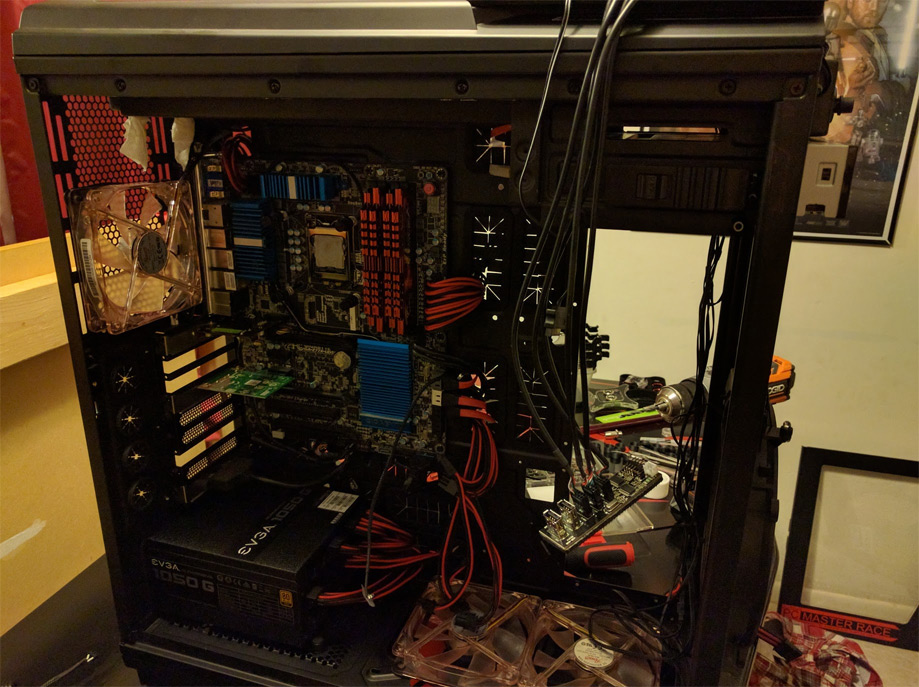
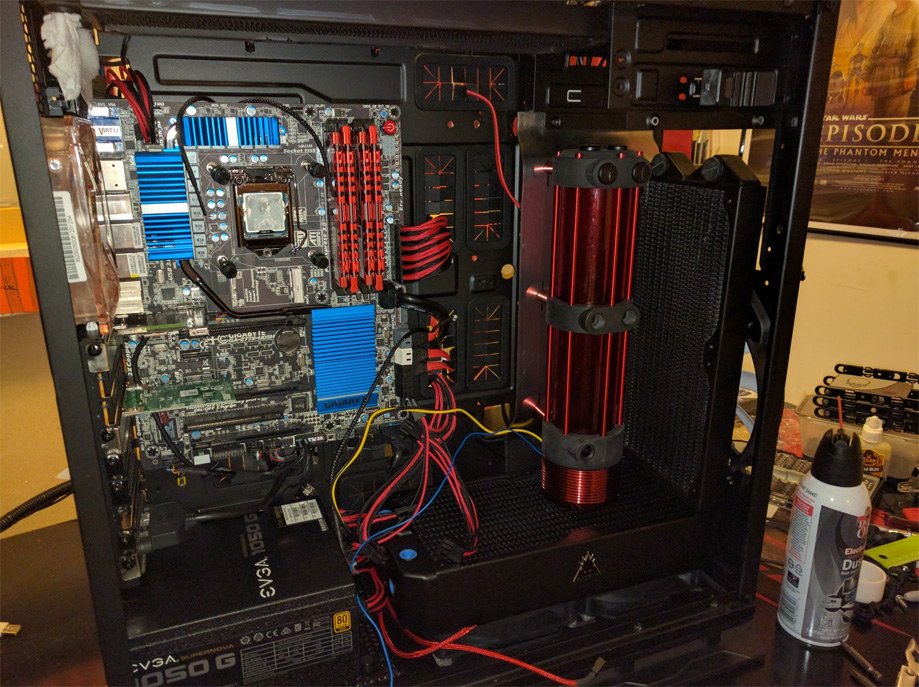
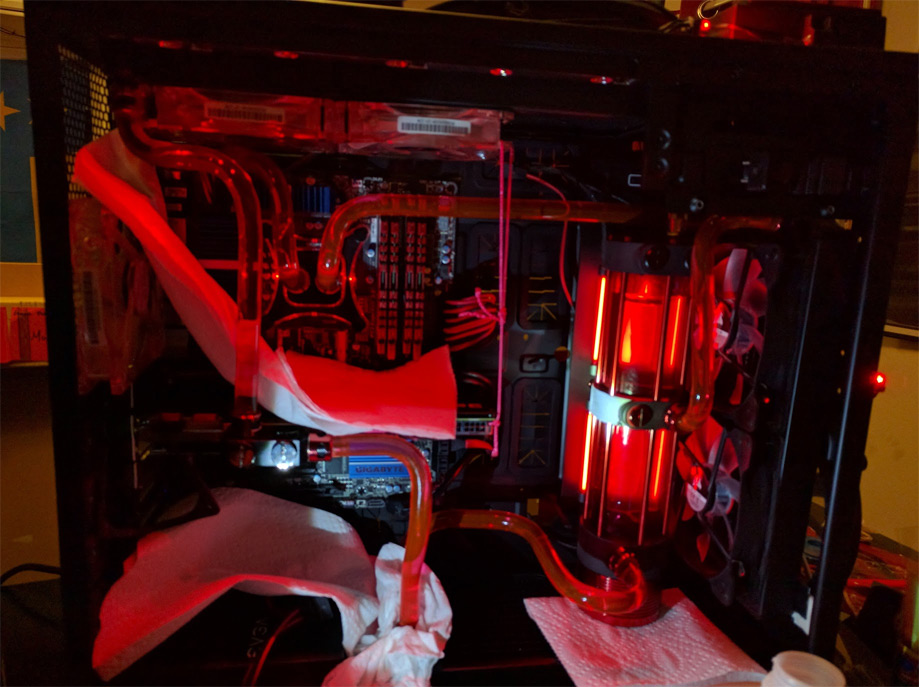
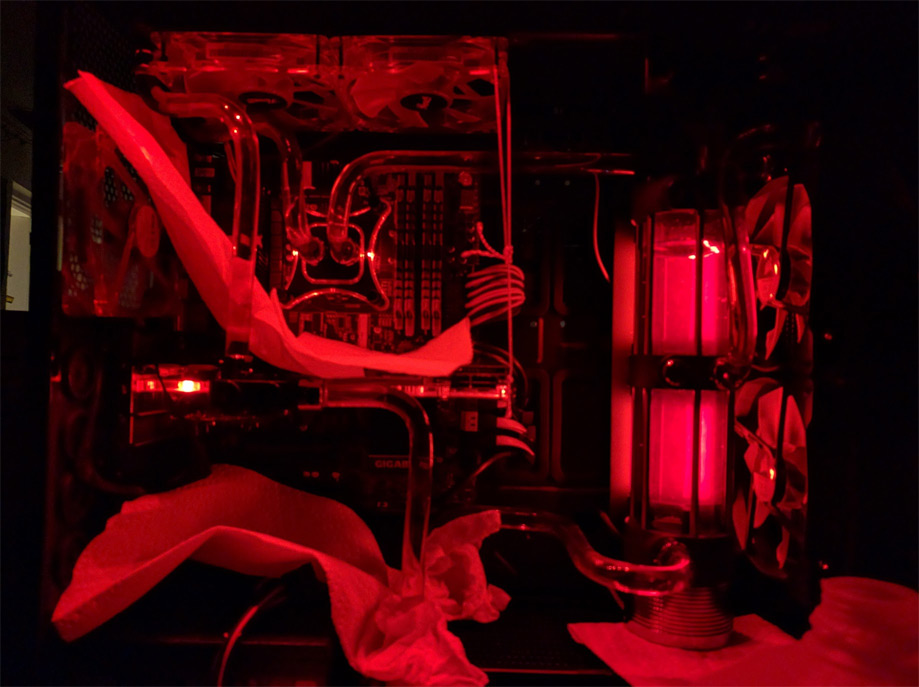
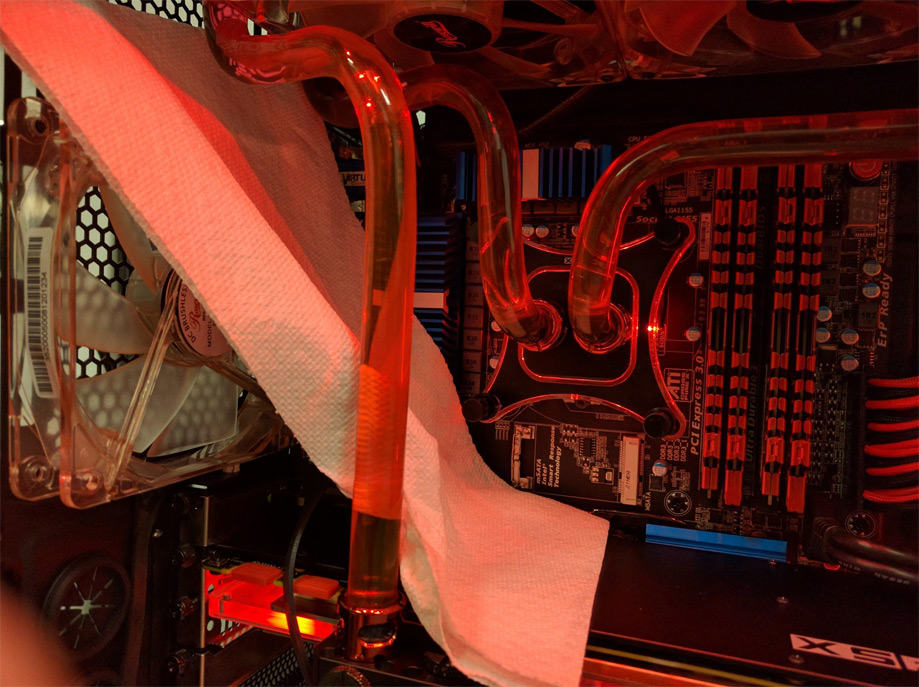
After I removed all of the tubing it was time to gut the case of everything that I could so that I could start cutting pieces off.
Notice the paper towel hanging out of the reservoir? That is so that any residual water does not drip on my motherboard.
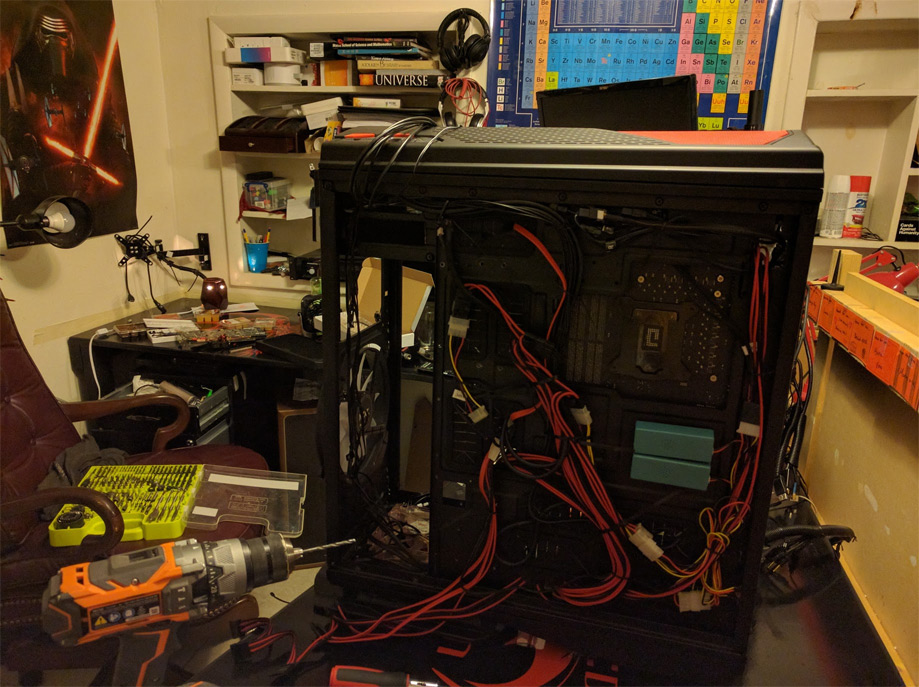
Uh-oh, time for power tools… I had to drill out quite a few rivets so that I could remove the hard drive cages and 5.25” drive bays.
Here is a front view
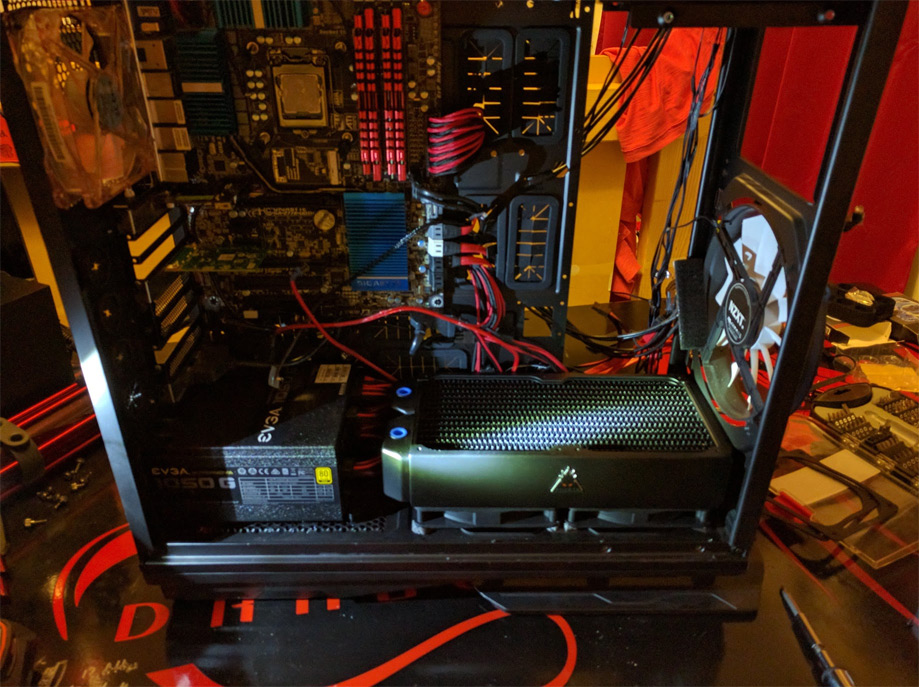
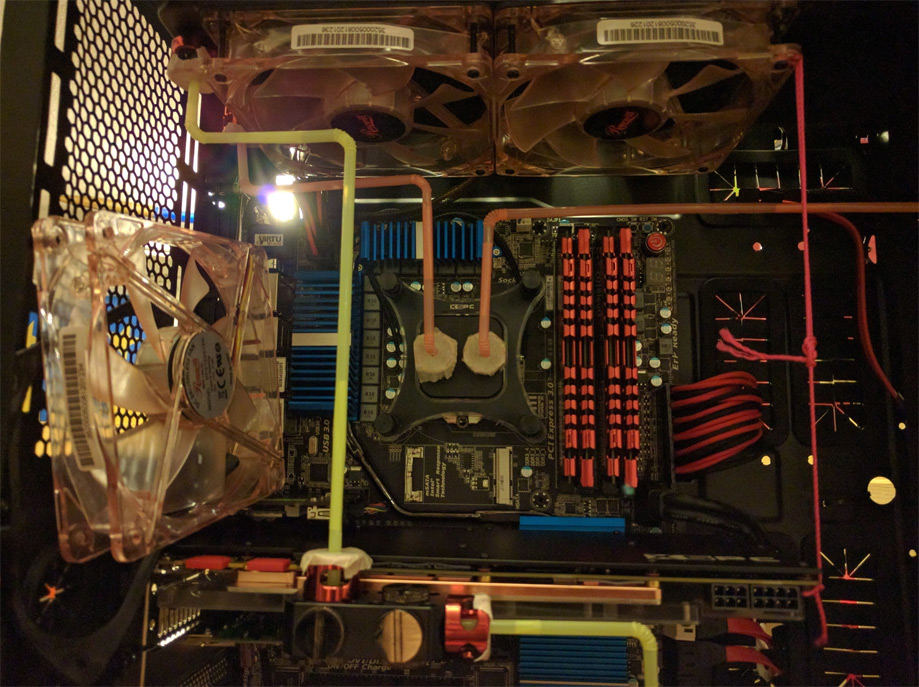
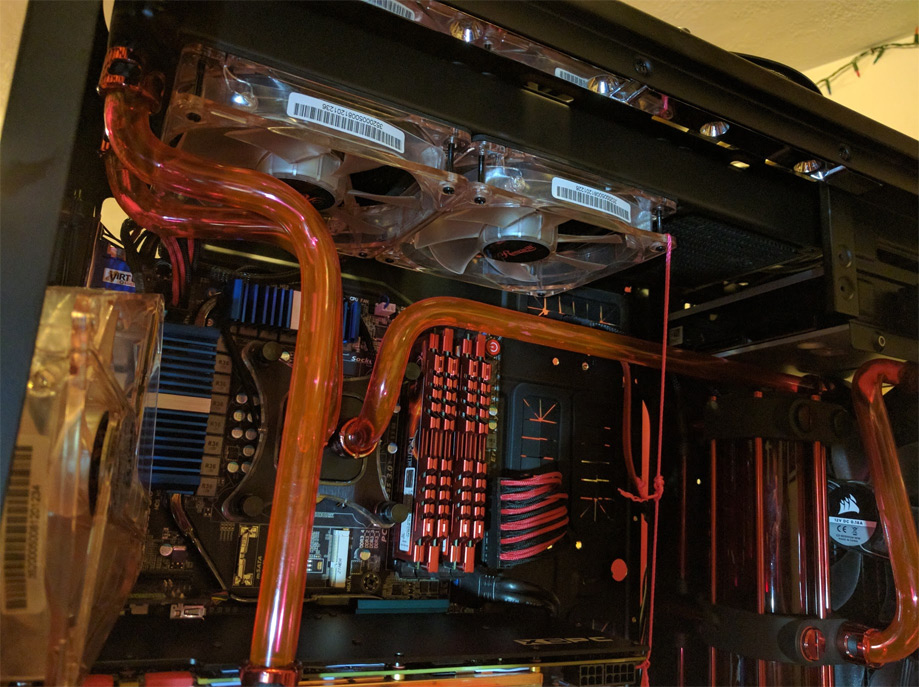
Test fitting one of the new radiators, I removed those noisy 120mm fans on the bottom and replaced them with fans that do not get any louder than 8dB. This fucker is going to be quiet…
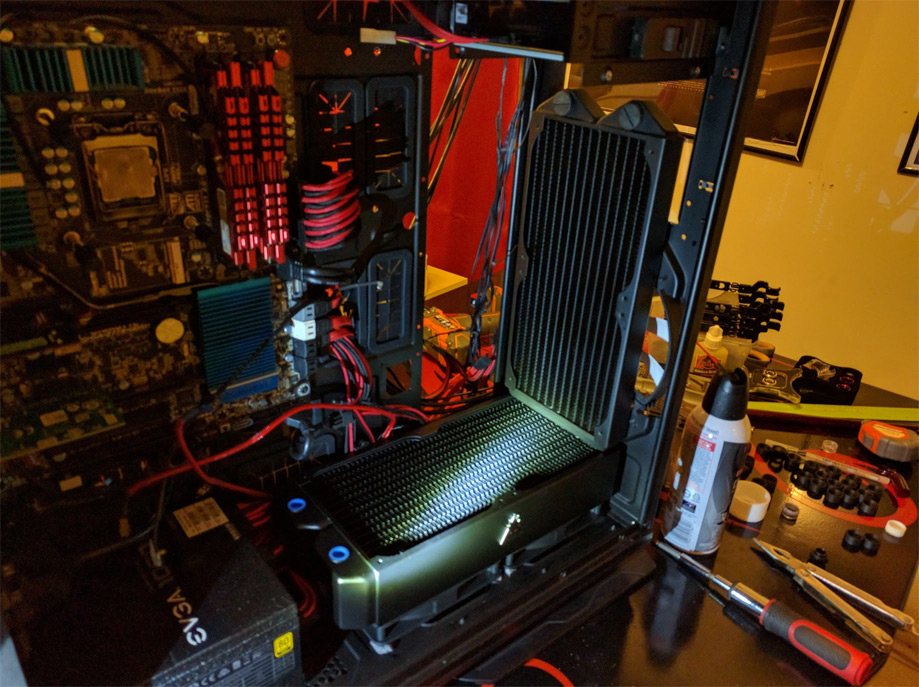
Radiator number three test fit!
Here I have taken a piece of sheet metal and given it a slight bend so that I can mount the reservoir to it. It will also have a mounting bracket on the back where I can put a full size hard drive.
Test fitting the reservoir mounted to its mount with the radiators in place. It is really starting to come together!
Another view of the test fit, I am pretty happy with how it has turned out so far!
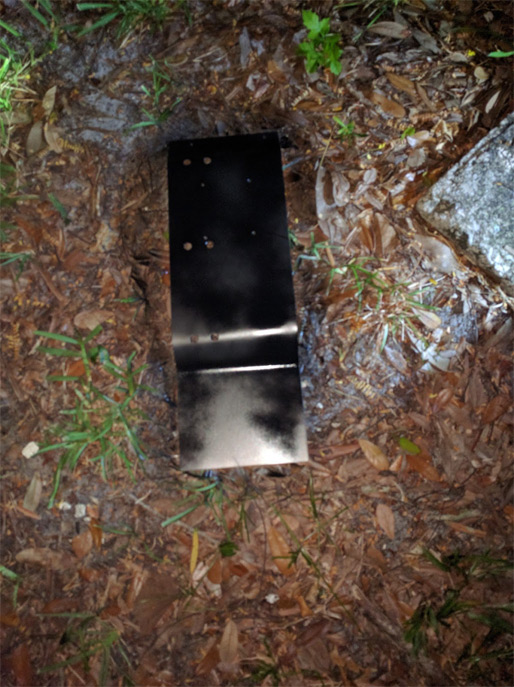
Time to paint the mounting bracket!
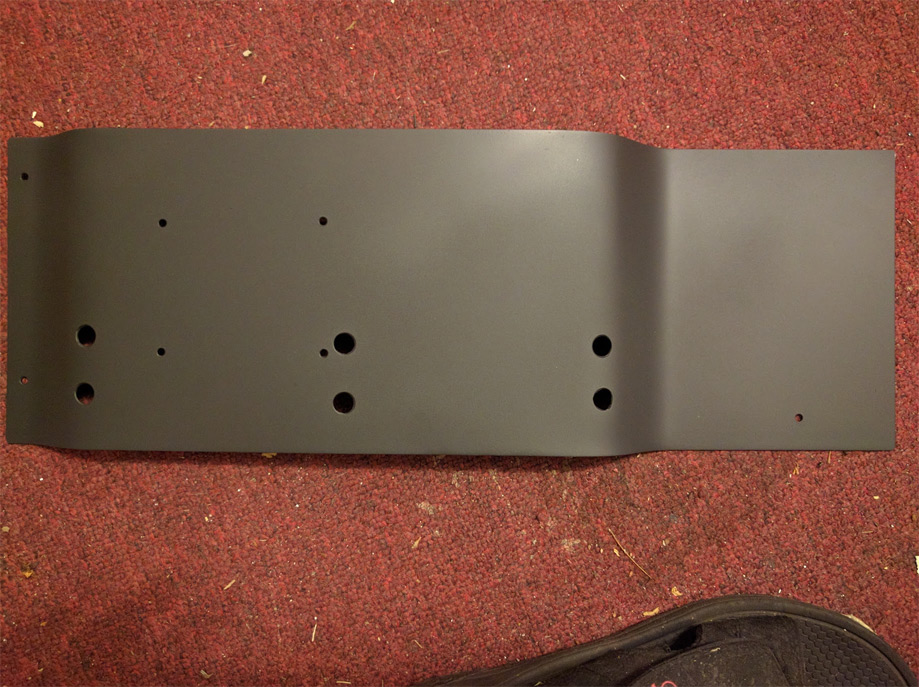
That is a sexy matte black!
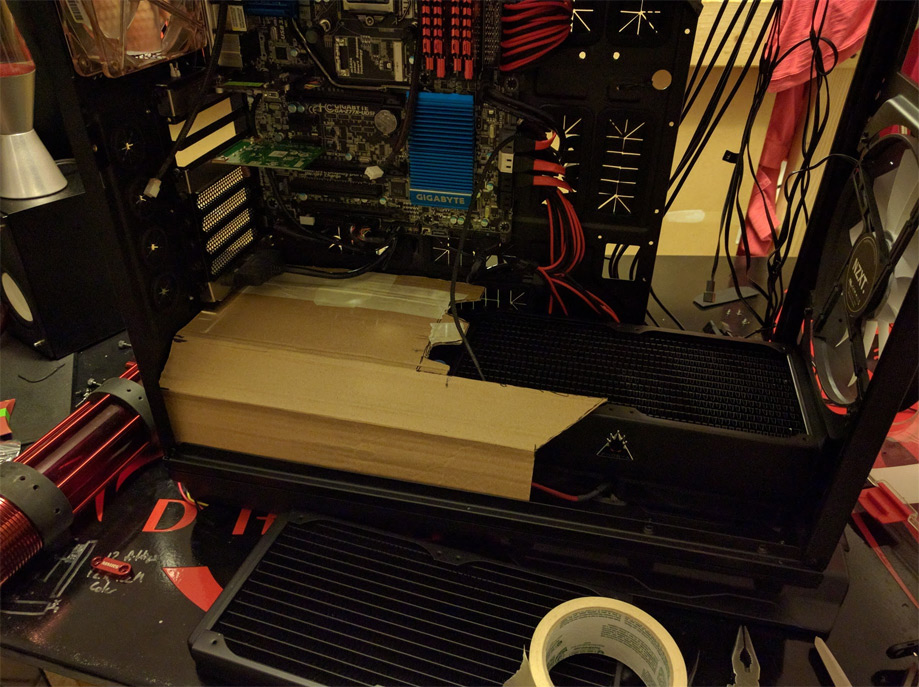
I made a template for the PSU shroud with a piece of cardboard so that I know for a fact that it will fit properly.
First test fit of the acrylic shroud, look it fits! Now I just need to make the cutouts for the tubing.
Mounting the reservoir to the reservoir mount.
Reservoir mounted!

So…. it turns out that the extra port on the radiator is hitting the front of the case so I need to grind off a piece of the case to allow for the radiator to fit. You like my unique way to catch the metal shards? It is patent pending lol jk!
EVERYTHING FITS!
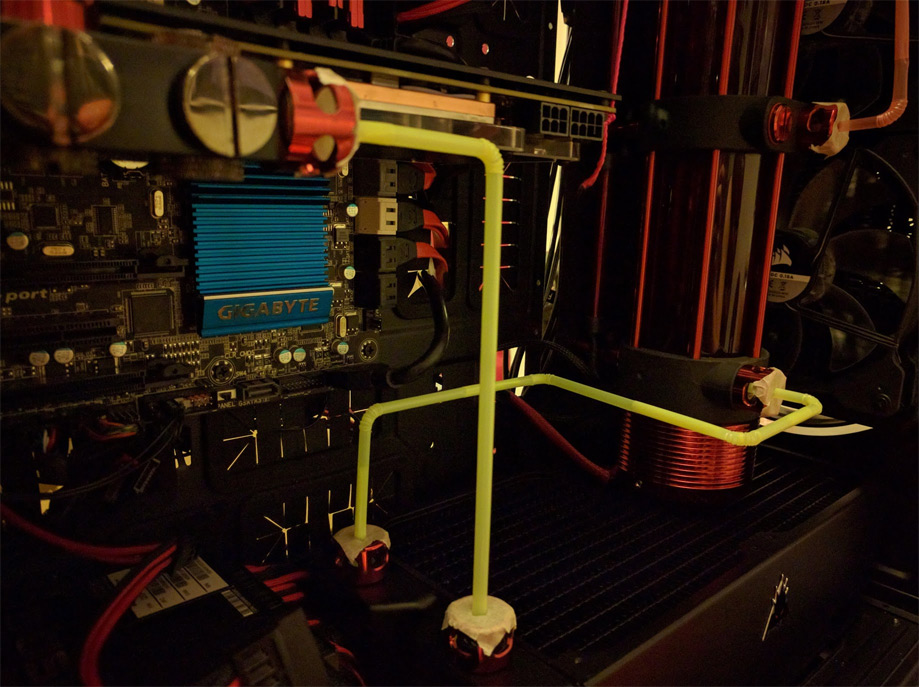
Here is a better lit view for you.
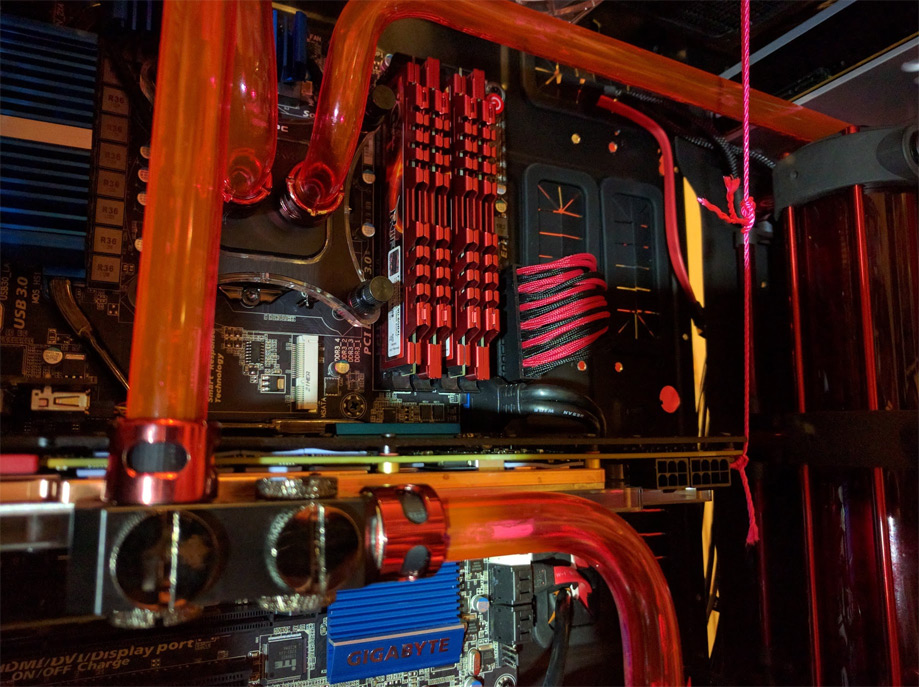
Re-installed my GPU with its sexy new backplate, now I am checking the clearance on the tubing. Notice how I have a string to combat GPU sag before I have the tubing to reinforce its weight.

A better view of my string
What it looks like with the PSU shroud, I added in holes for the tubing to go through.

All this work on my computer makes me hungry for kebabs! Time to hit the grill!
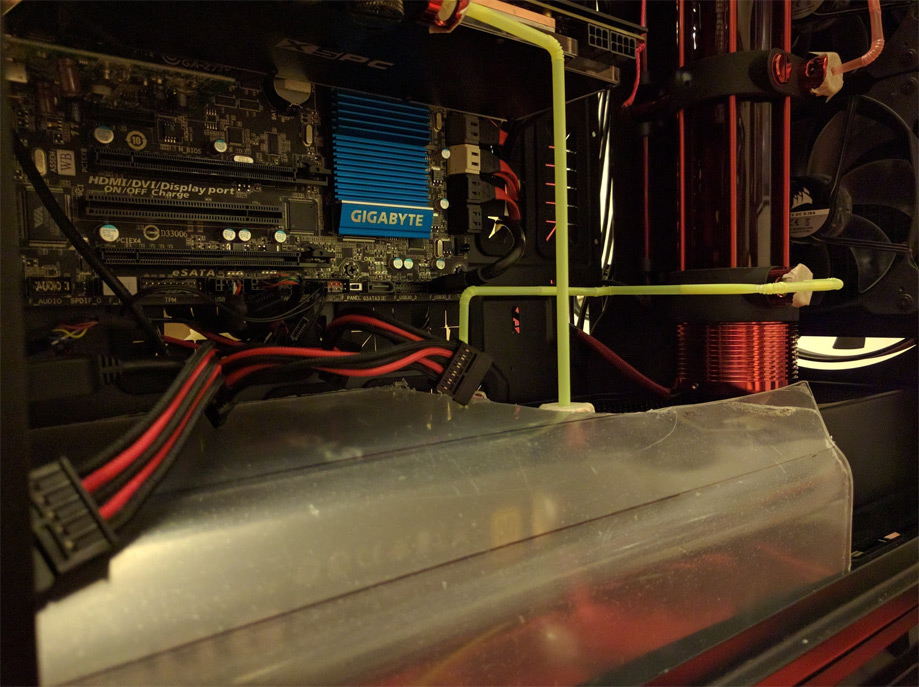
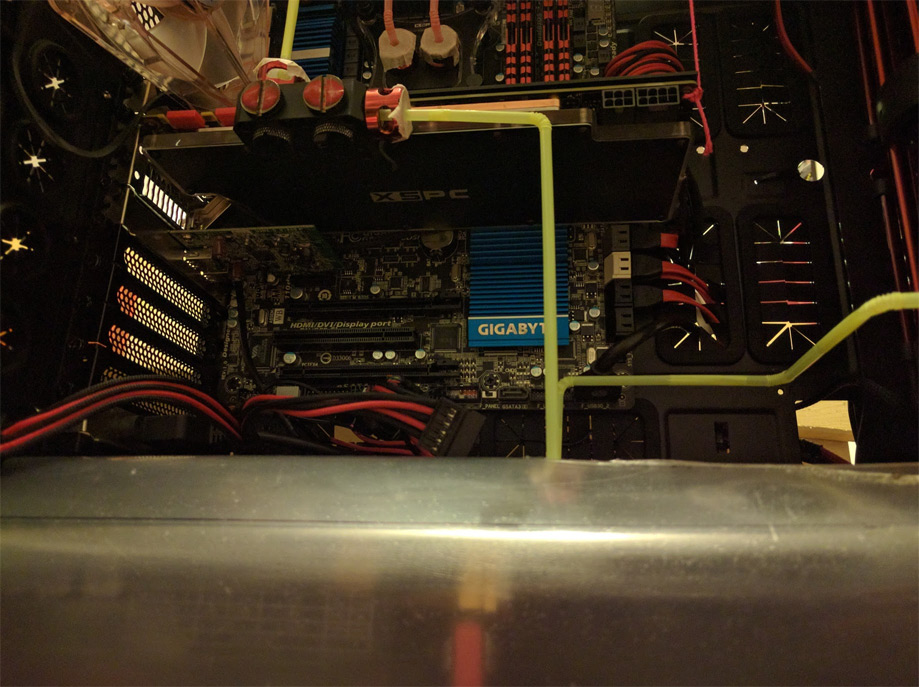
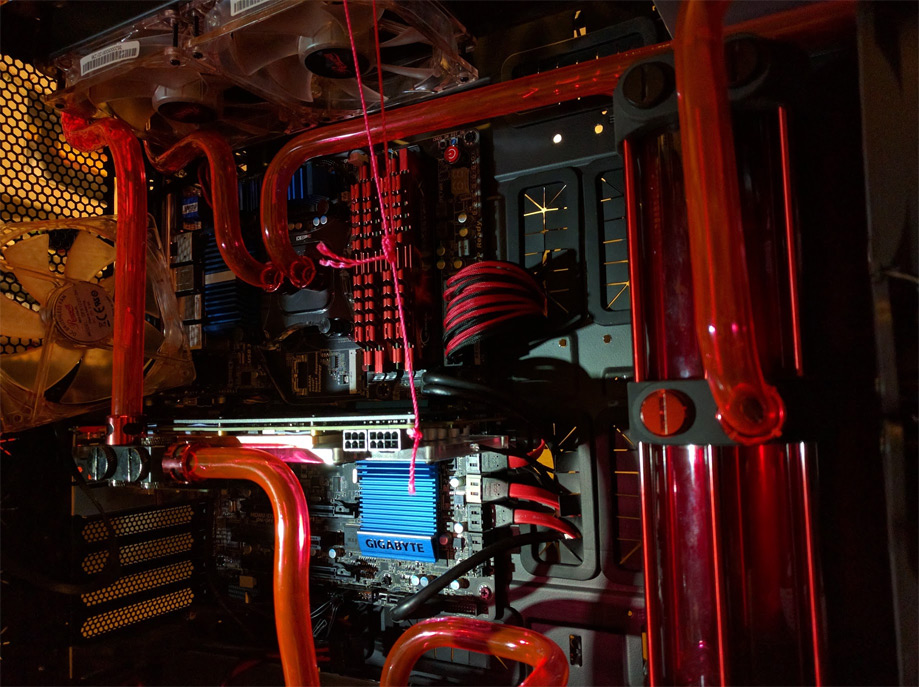
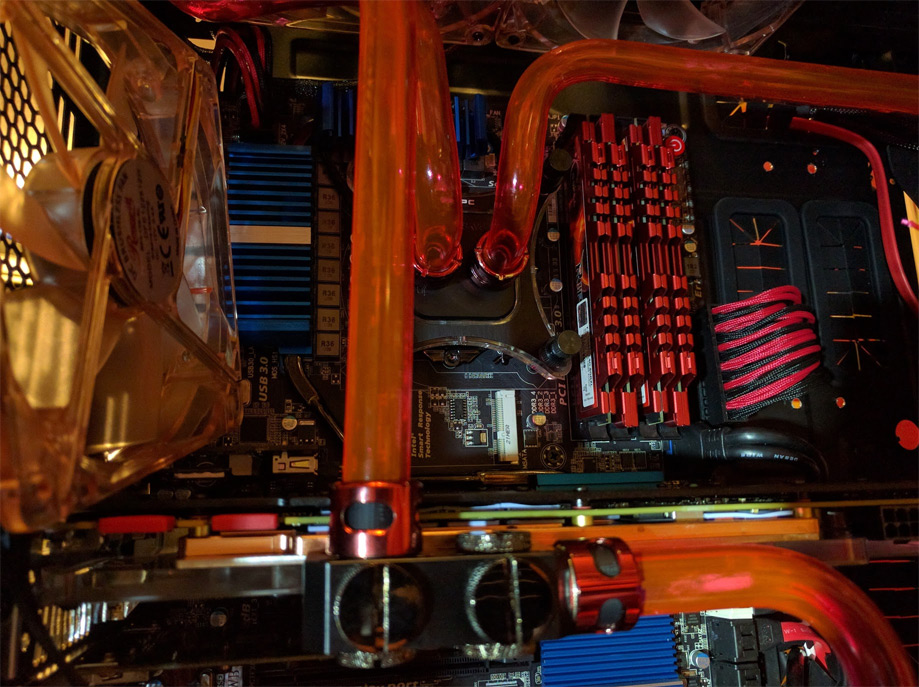
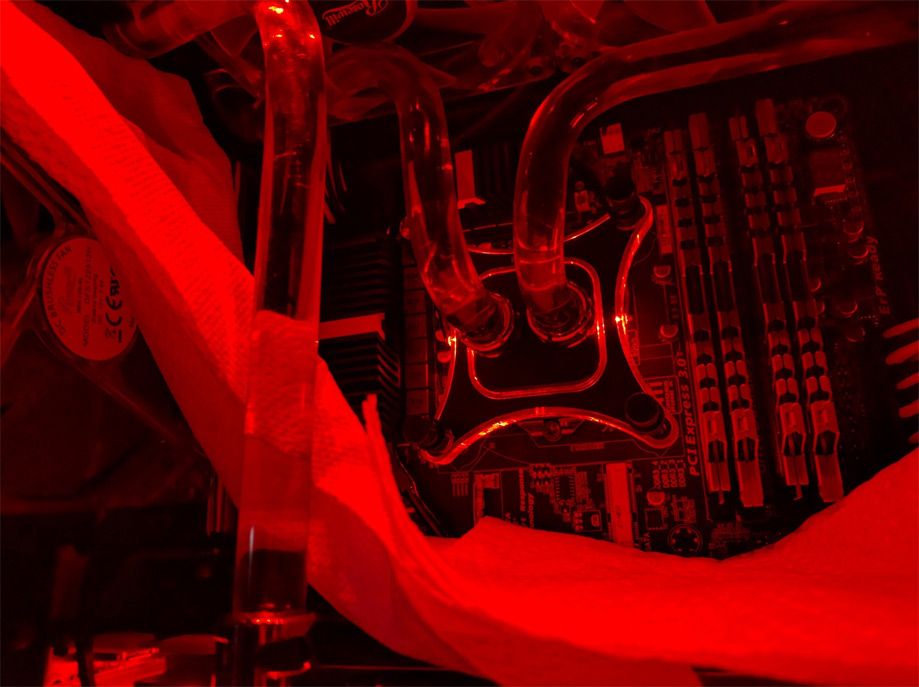
Mapping out how I want the tubing to be laid out before I start to bend. Let me show you some closeup shots.
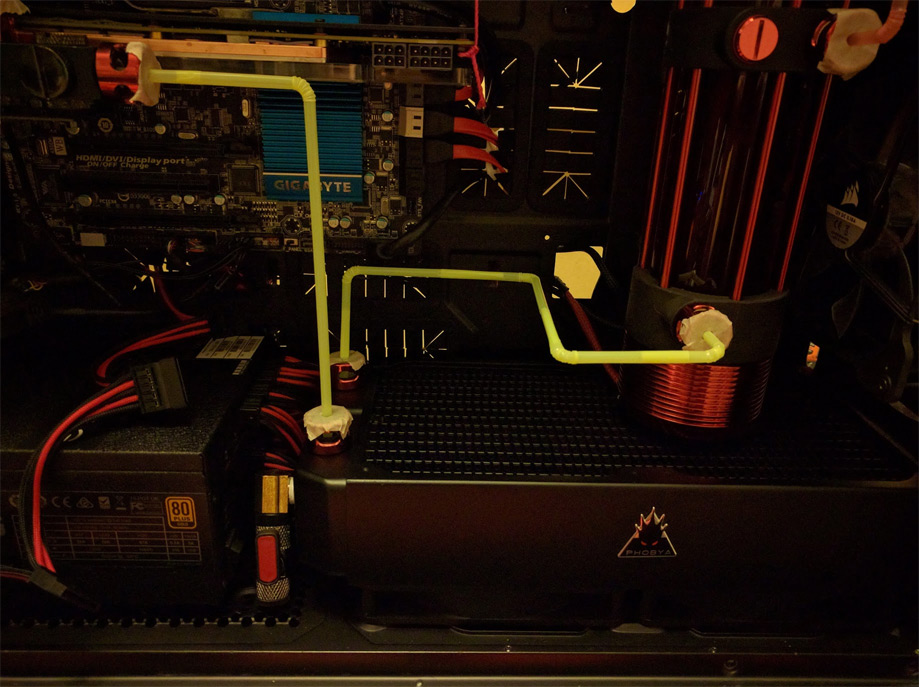
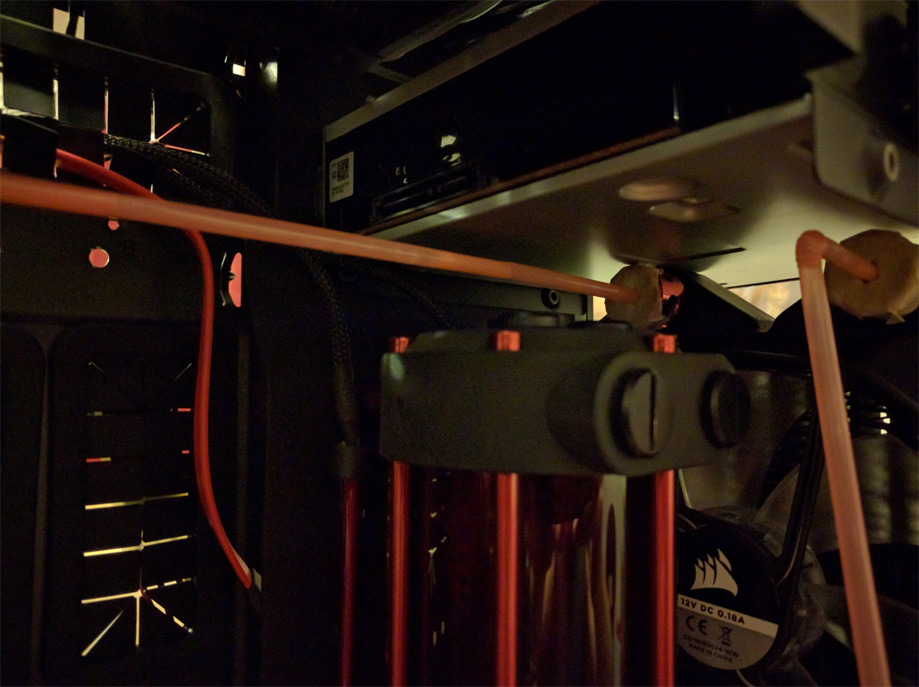
Dat clearance doe’
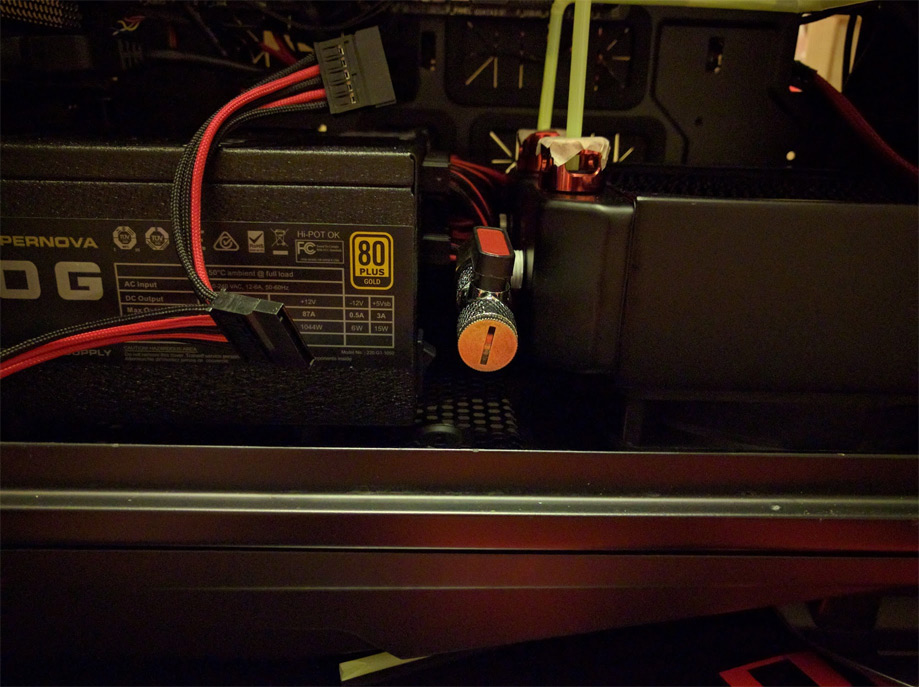
So my drain port sticks out too far for the PSU shroud to cover it…

Lucky for me it folds down!
Started bending, I am not very happy with the top left or bottom left bends though… I will do those again…
Yeah, that really looks like shit…

Bending a new tube
Ahhh yes, much nicer
That left one looks pretty shitty too, gonna have to replace that one too…
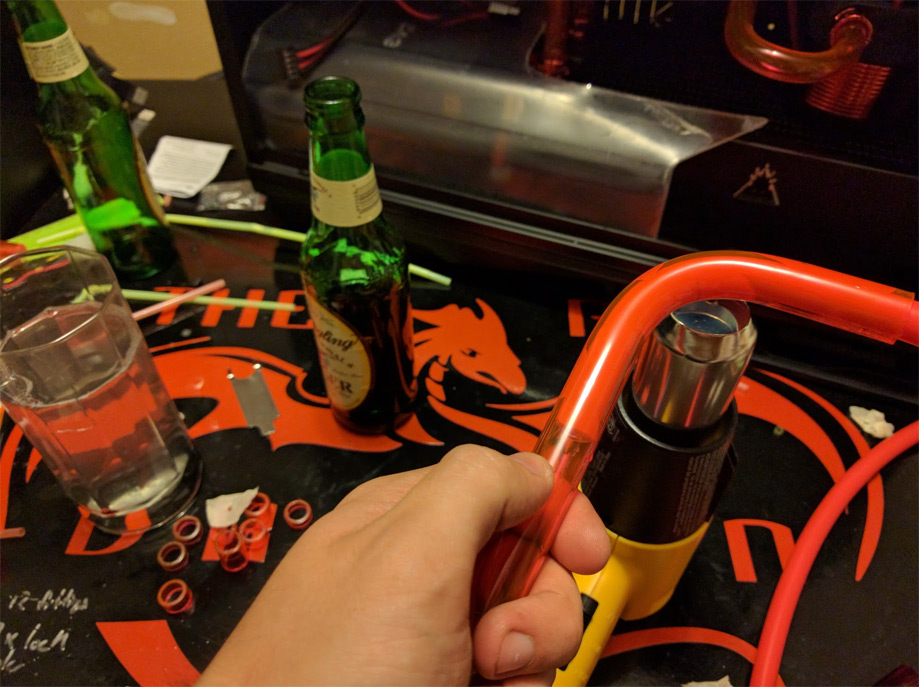
Beer and bends! That hits the spot!
Much better!
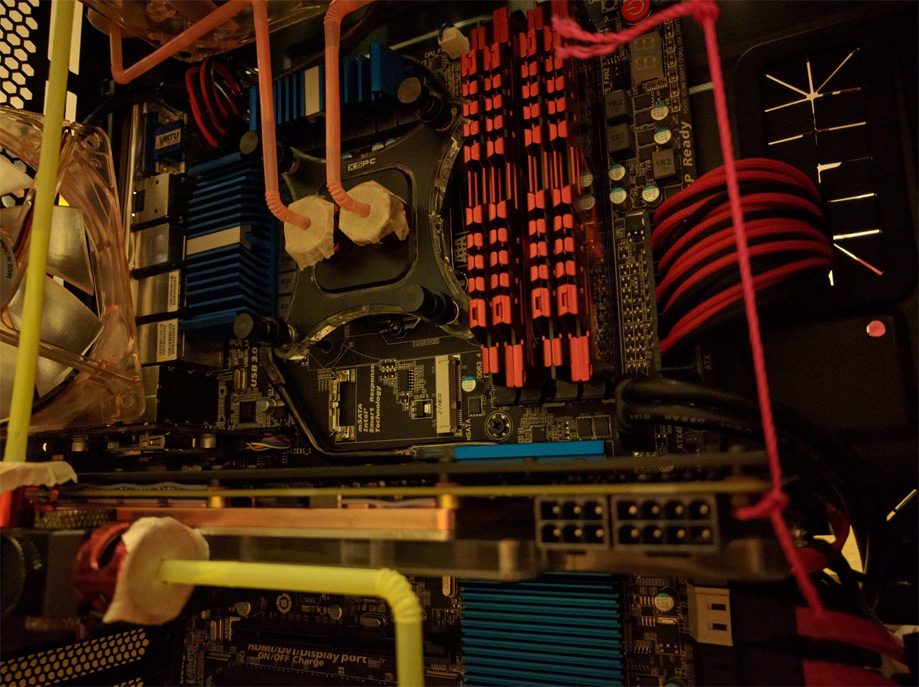
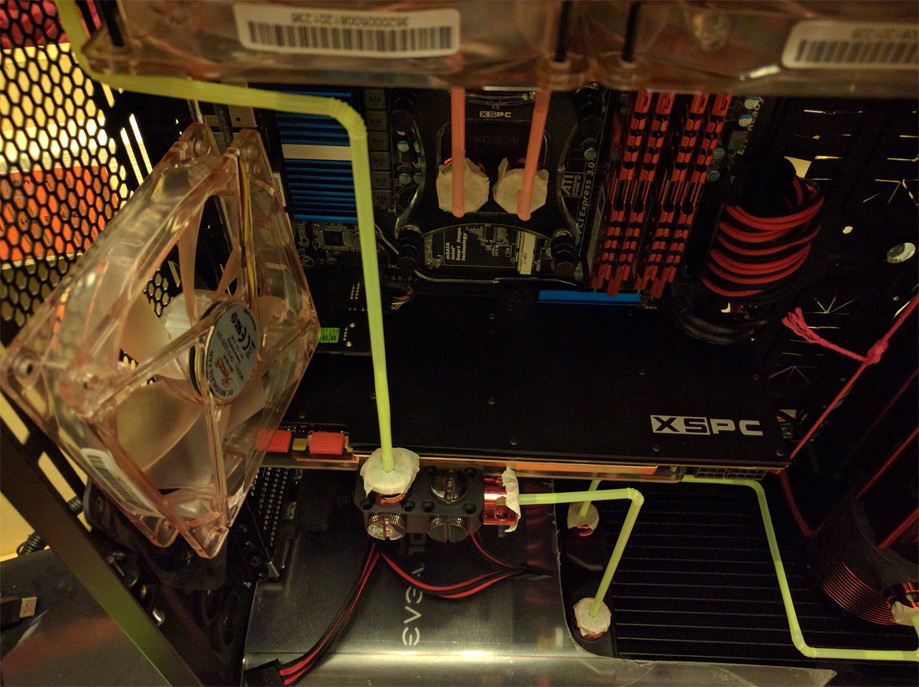
All of the bends are complete! Now for some gory shots! Yes, I am still rocking the string
This project required a lot of beer…
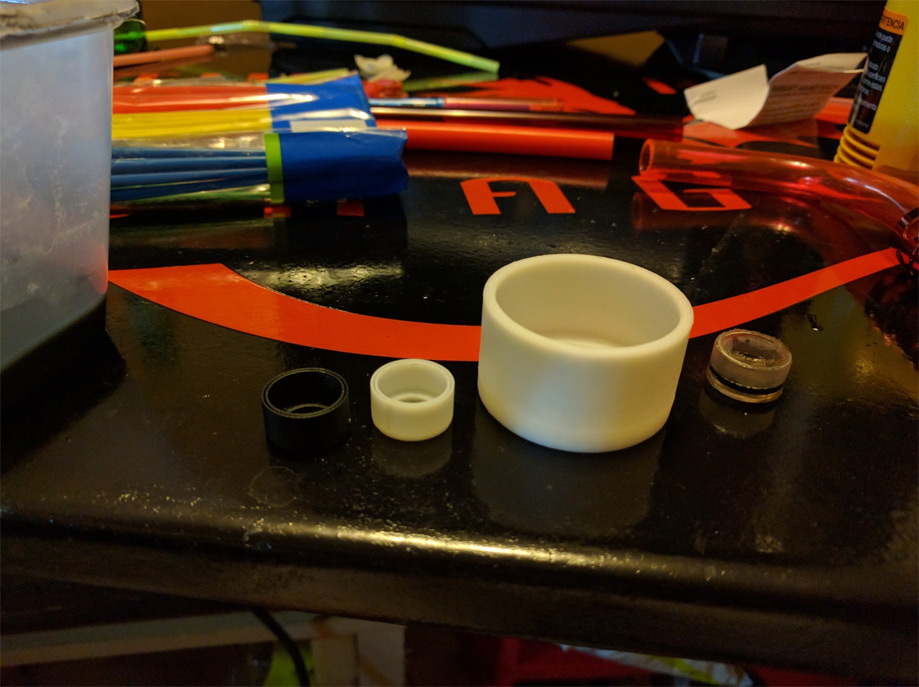
So the compression fittings that I use for my water loop were out of stock everywhere in the country so I resorted to 3D printing them. The original is on the right and then my attempts start to the left of it and move to the final version on the far left.
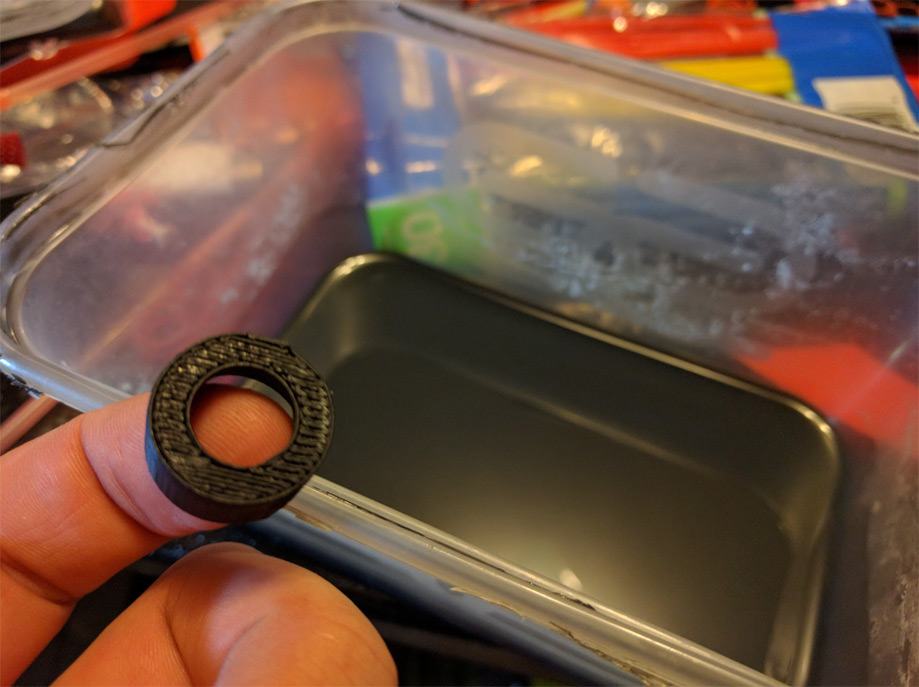
The only problem was that the bottom of it was not flat and smooth so I needed to make some ABS plastic glue by mixing the leftover plastic with acetone.

Filling in the grooves
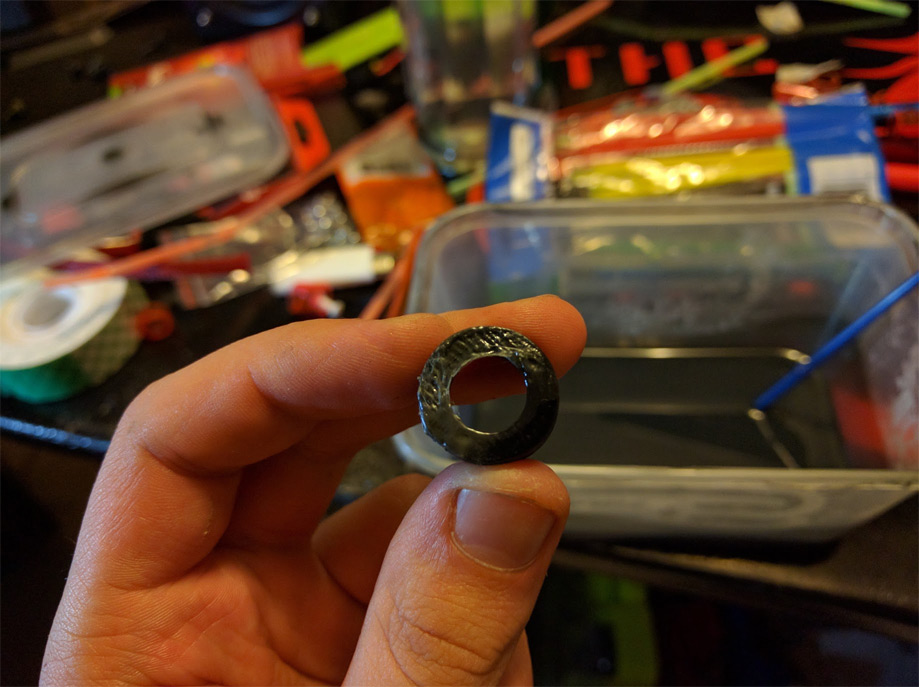
This took a while…
Correction… it took three days to make enough of them that did not leak…
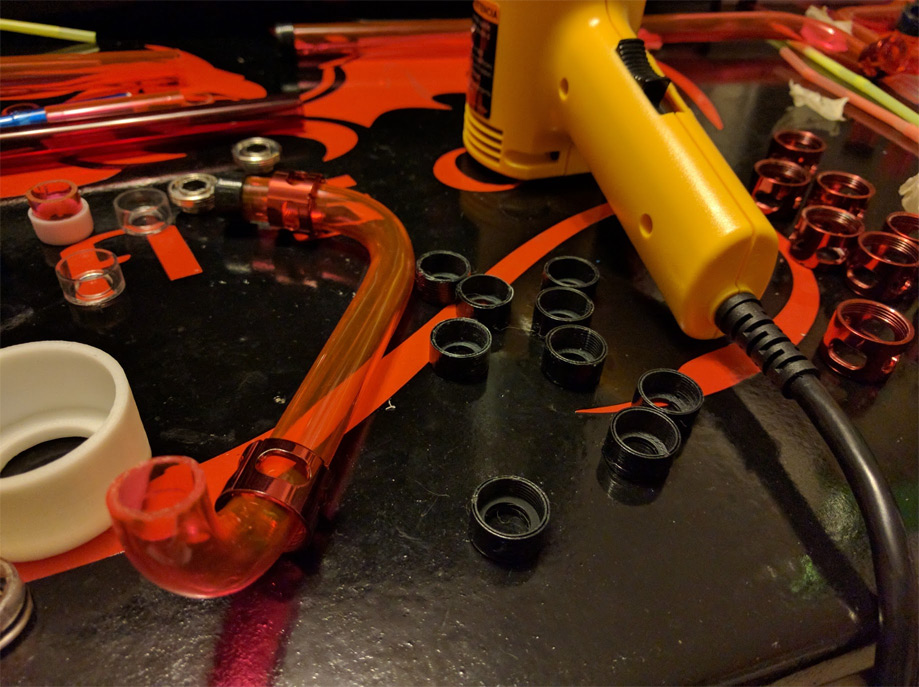
All of the fittings are glued on and ready for installation.
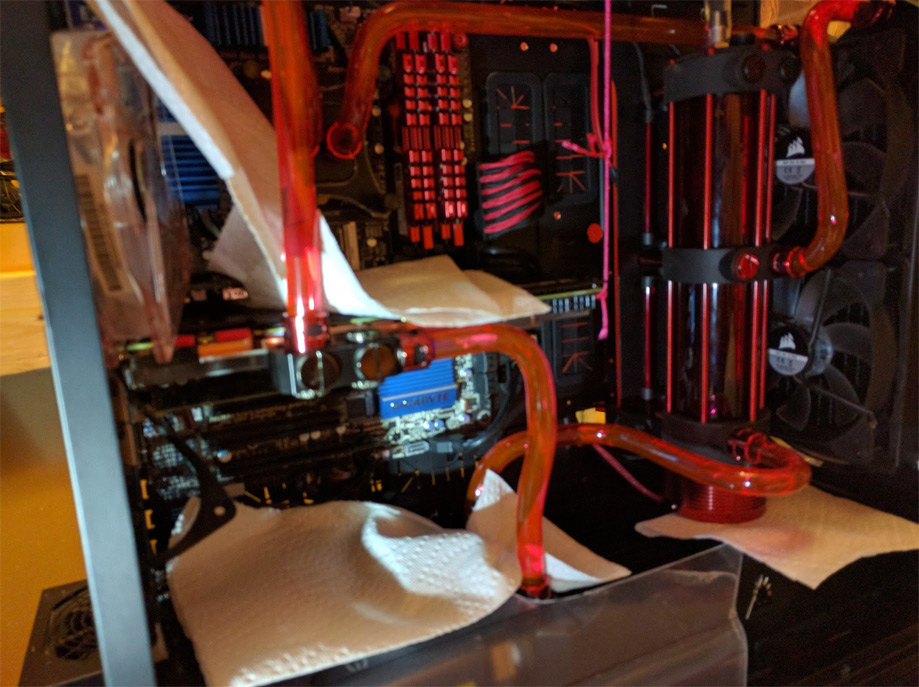
Everything is installed and paper towels are in place ready for leaks.
Fill port hooked up
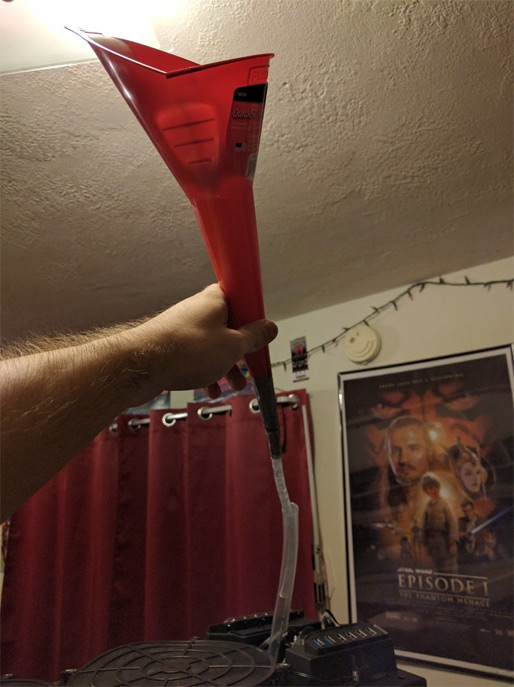
Funnel!
Pushing water through the system
Needless to say there were leaks…
Round 2! Looks good so far, time for glory shots!
Brought it over to my school’s makerspace so that I could make some custom wires, so I kept the leak test going while I was there. More glory shots!
So after 48 hours The Red Dragon has been leak free! Time for the next step.
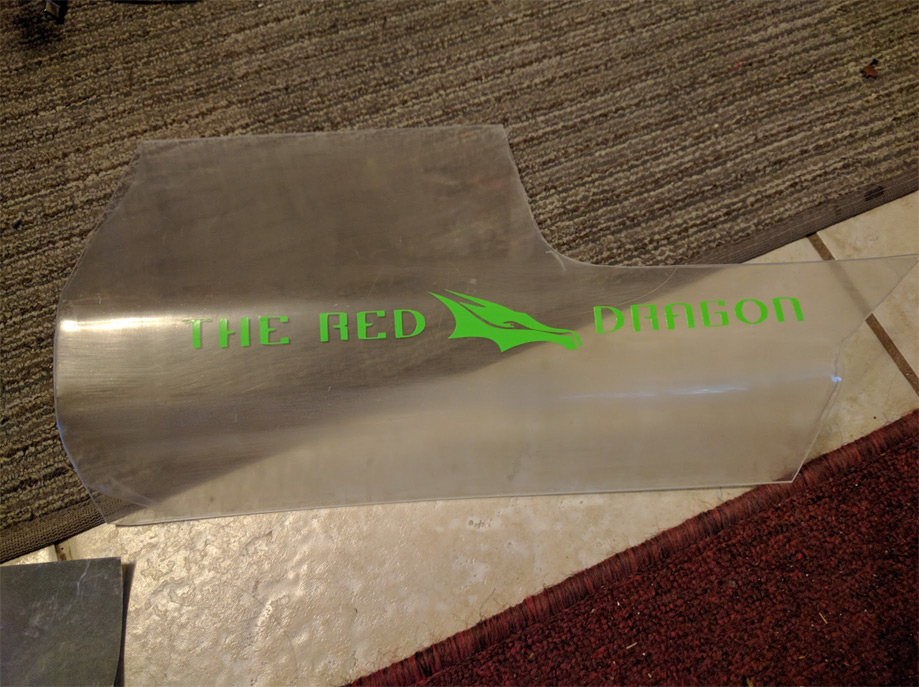
MOAR DECALS! But Droid you say, that’s not red! Just wait you will see.
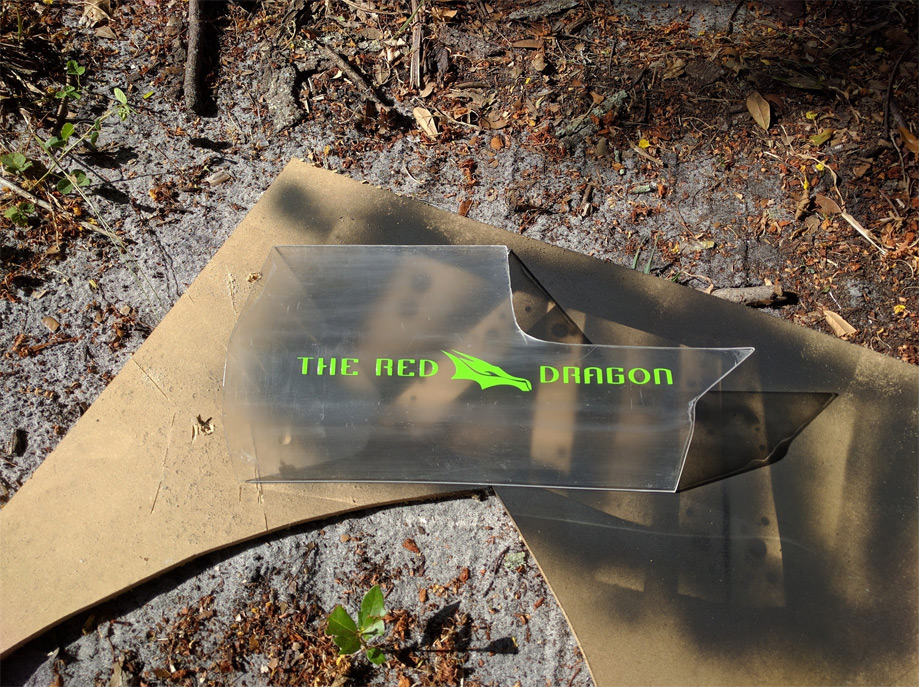
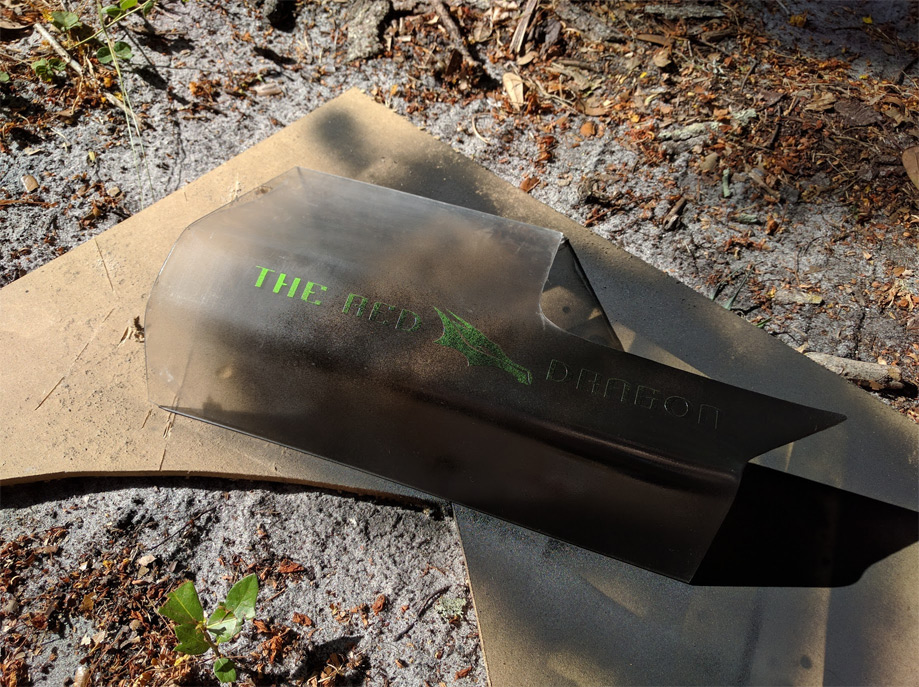
Its a stencil see! So the color doesn’t matter.

This is so much easier in the daylight!
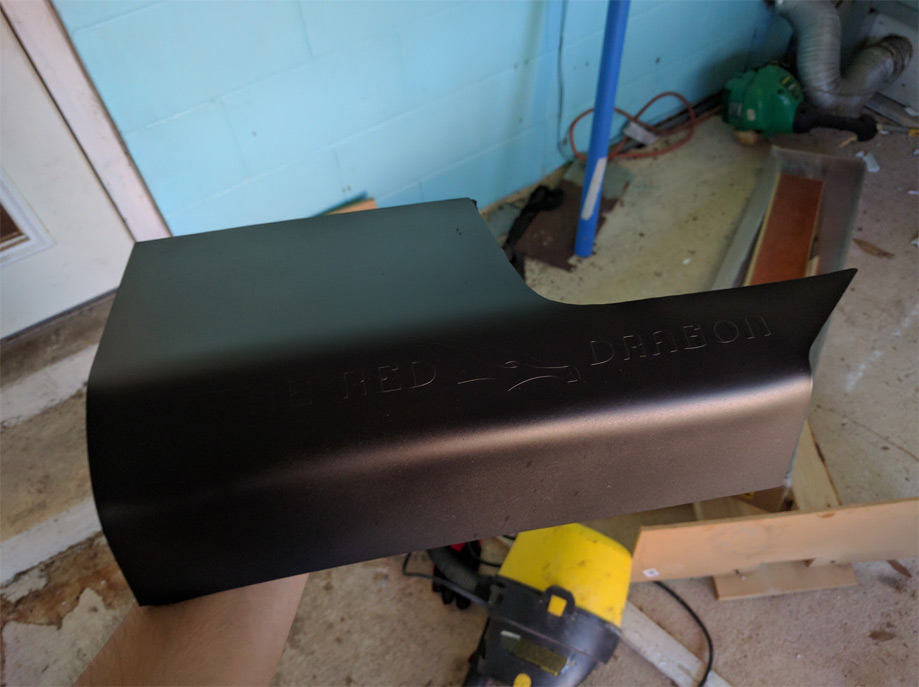
Sexy matte black!
Took off the vinyl just need to clean up the residue.
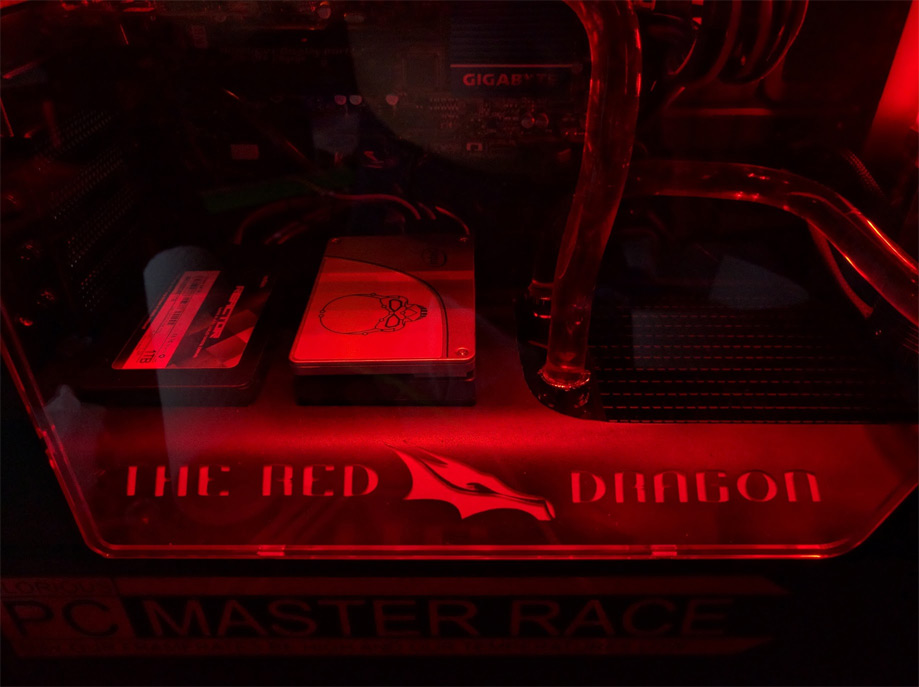
Mounted the SSD’s to the PSU shroud using sticky Velcro, that shit is awesome!
Shit… now I have to deal with this mess…
Whatever, I will deal with it later…
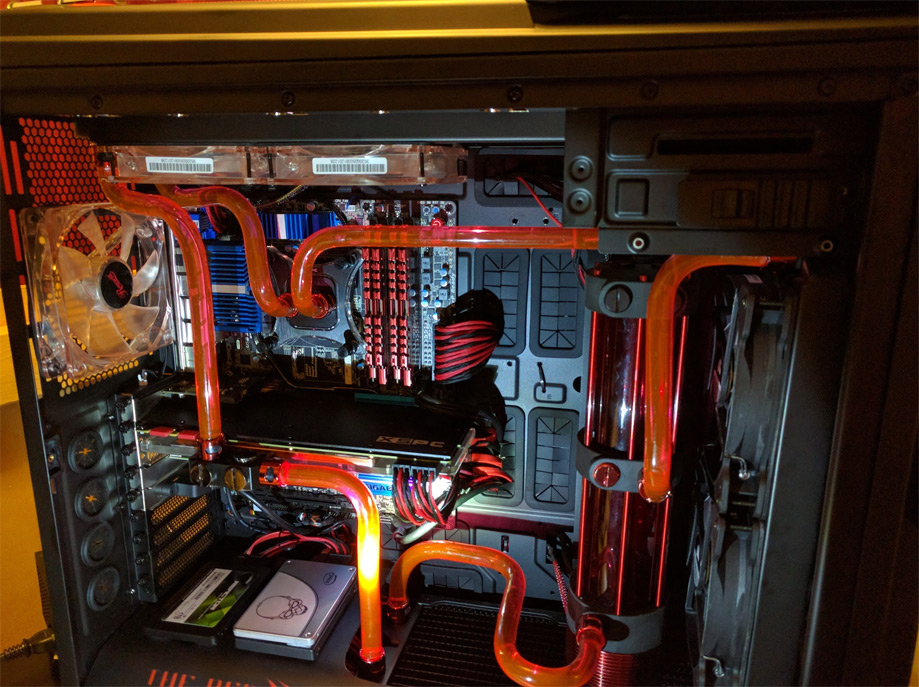
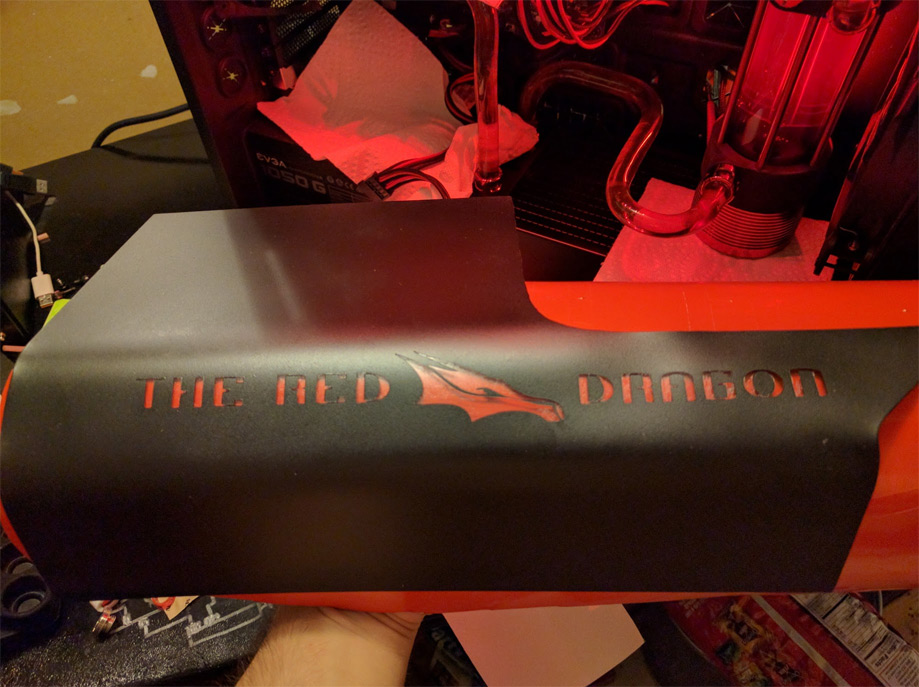
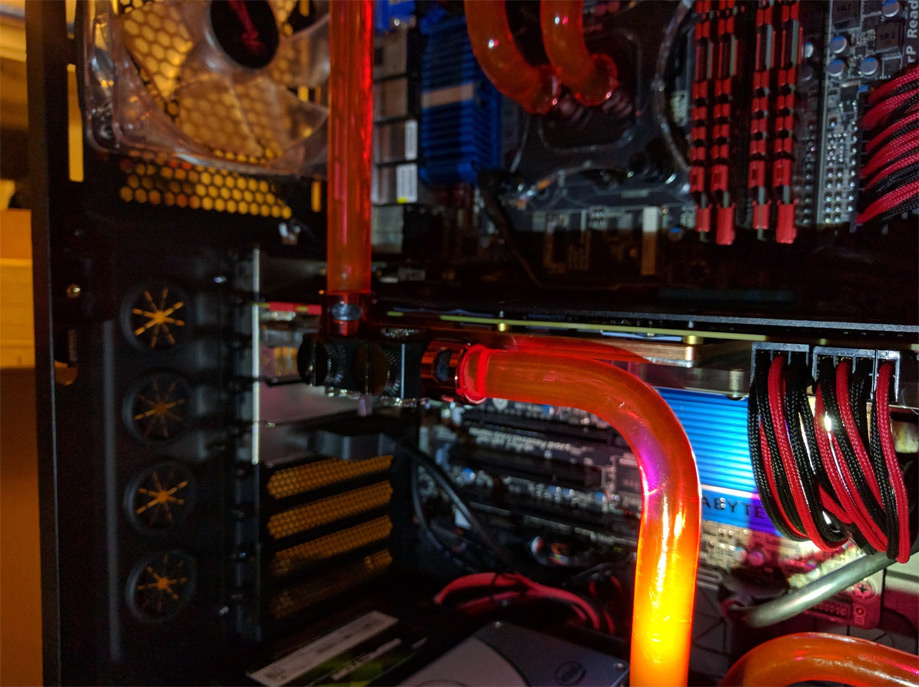
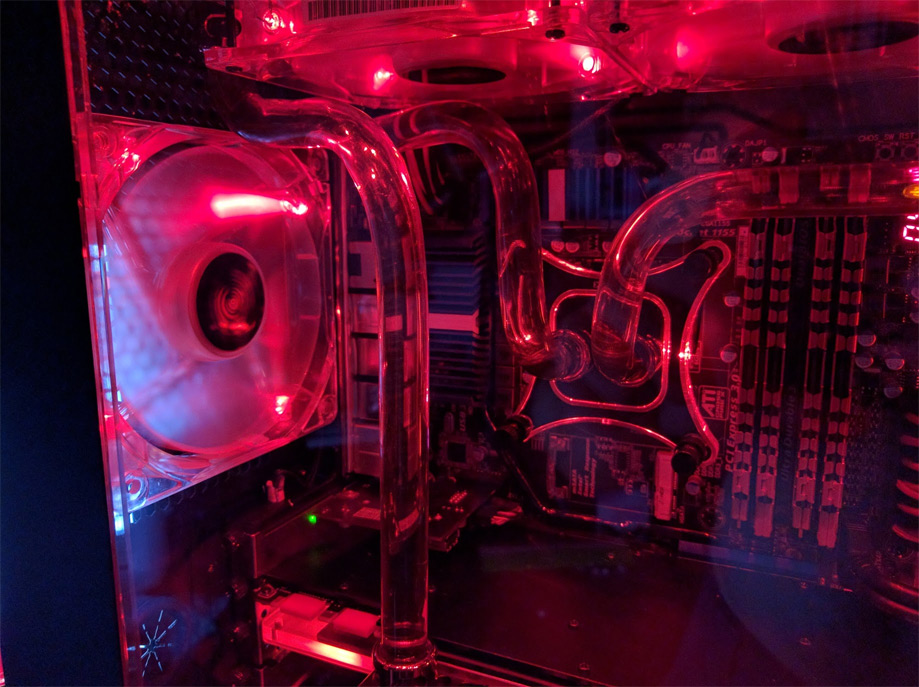
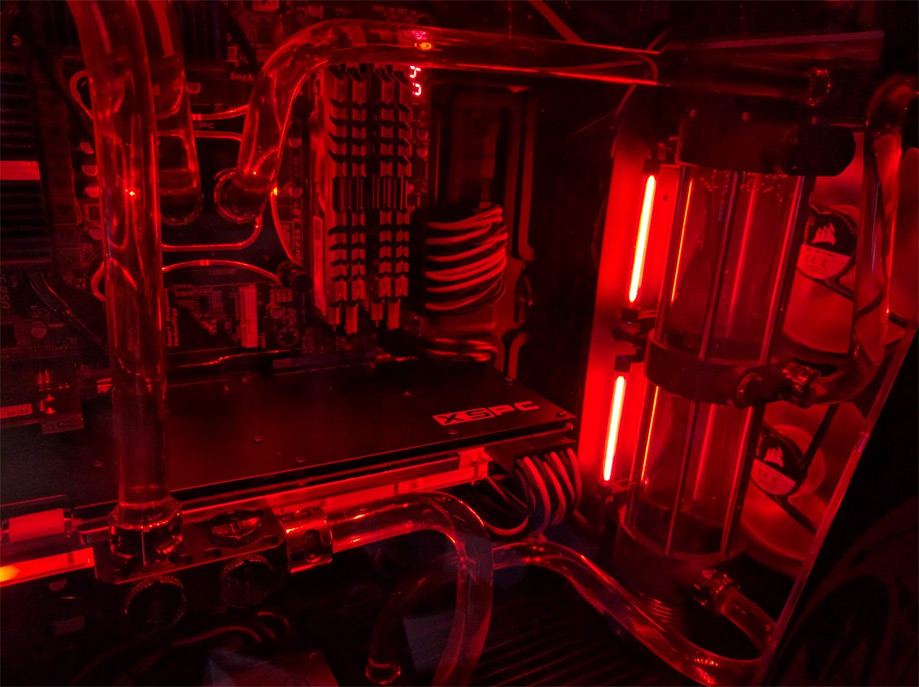
So pretty! Time for more glory shots!

What a mess…

Those temps doe’
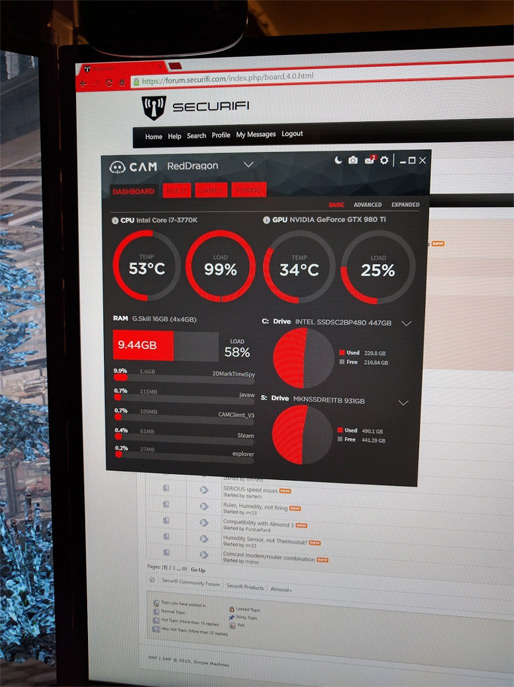
I ran some benchmarks, temps didn’t even flinch!
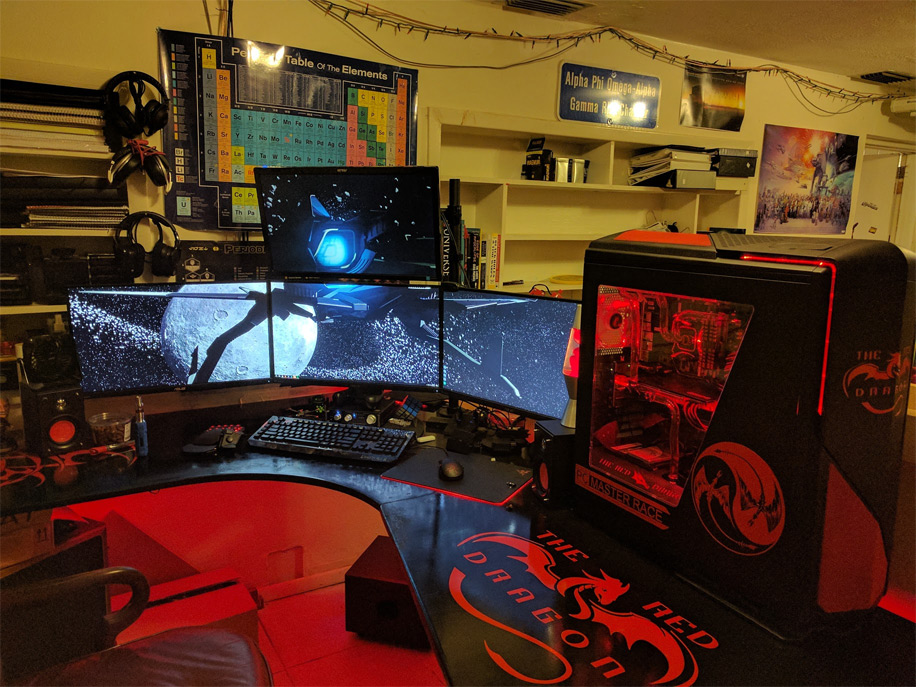
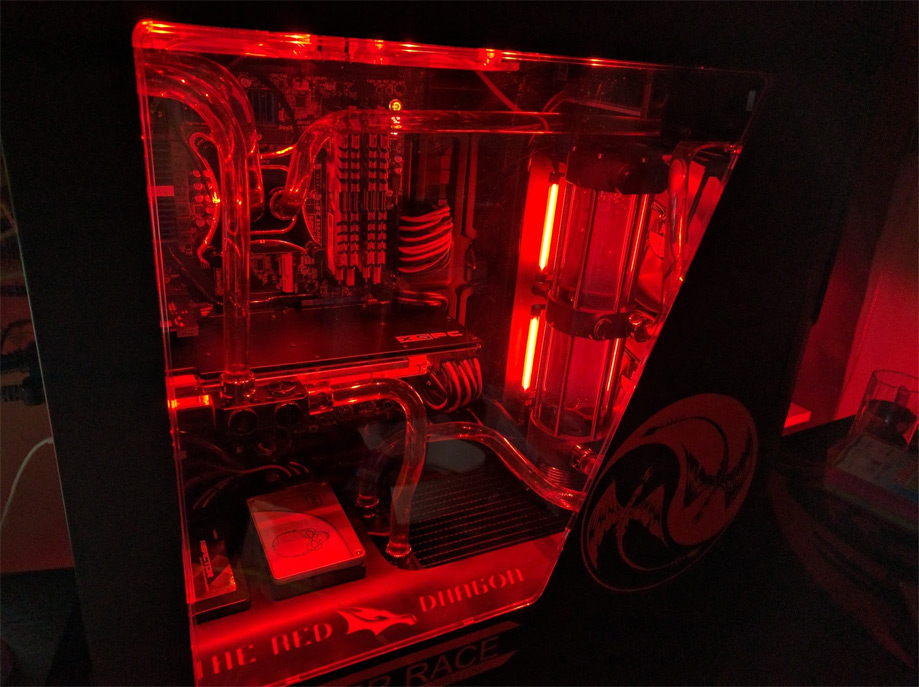
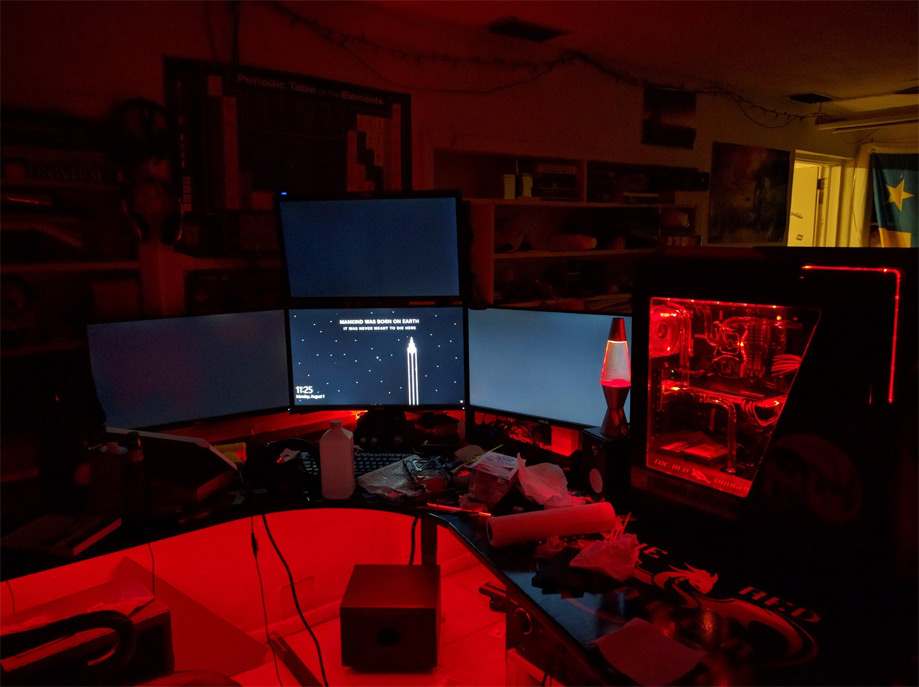
The final setup, it looks amazing!
I know after I finished it the first time I said that I would not do it again for a while, but that was obviously false… So I am not going to say that this time I know for a fact that in the next few months I am going to decide that I want to change one little thing that will require me to rebuild the whole thing all over again. But between that time and now if any of you are considering doing a custom water loop be sure to hit me up and I will be happy to help and I will give you some advice and pointers. I will also help you discover the sources that I used to learn as much as I did about water cooling so that you can go through the smoothest process possible. I hope that you enjoyed this adventure as much as I did. Sure this took me two weeks, but you should be able to read through this in less than 10 – 15 minutes… I envy you! This is DroidOmega signing off!